Clinical Check - Manual (England)
A patient's prescription can be clinically checked upfront, pre-confirming the prescription prior to dispensing. When dispensing the prescription, warnings, contraindications and interactions are confirmed allowing you to quickly finish the dispense and print the labels.
You can dispense a prescription without clinically checking it upfront, in this case the warnings are confirmed during the dispensing process.
To perform a clinical check on prescriptions:
-
You can check an individual prescription or multiple prescriptions for the same patient, either:
-
From the Prescriptions - New screen, select ACTIONS - Clinically Check next to the prescription you want to check.
 Training Tip - You do not need to select a patient to select this option.
 -
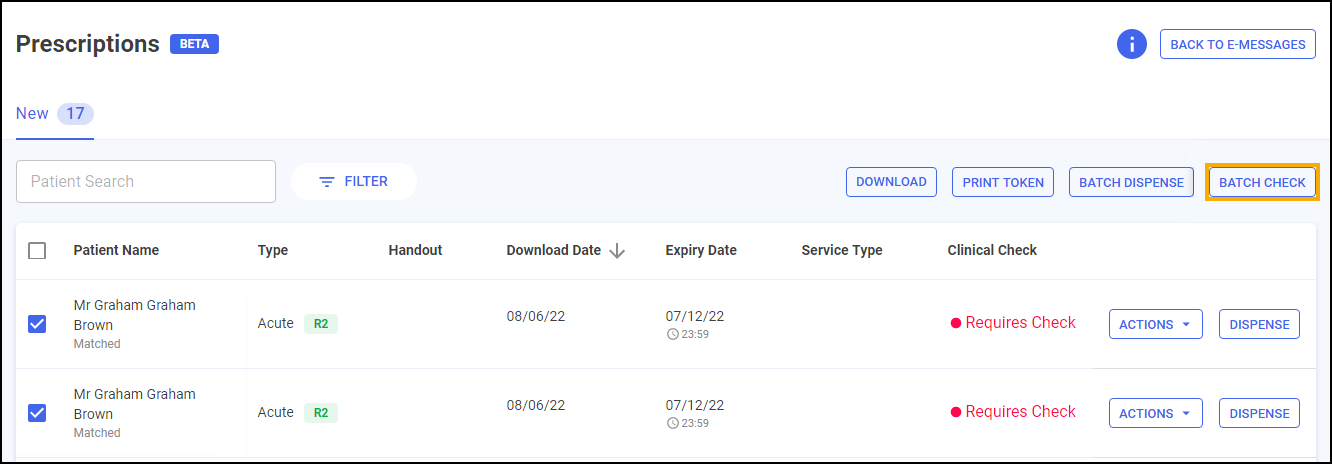
From the Prescriptions - New screen, highlight one or more prescriptions for the same patient and then select BATCH CHECK
 .
.
-
-
If the patient is unmatched or partially matched a warning displays. This depends on the option selected:
 Clinically Check - Unmatched Patient
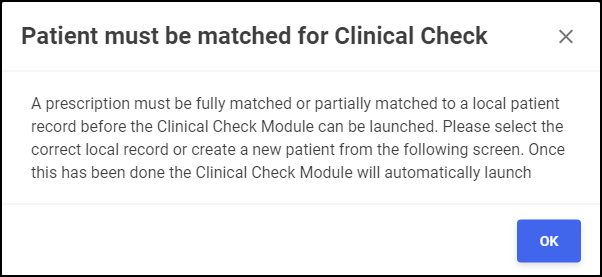
Select OK
 to open the eMessage Details - Find Local Patient screen and search for a patient, see Matching Patients (England) for details. The clinical check continues after matching the patient record.Note - If you do not match the patient you are redirected to the Prescriptions screen.
 Clinically Check - Partially Matched Patient

Select OK
 to open the eMessage Details screen and search for a patient, see Matching Patients (England) for details. The clinical check continues after matching the patient record.
 Batch Check
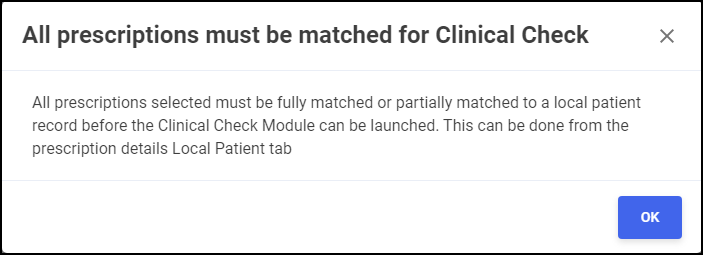
The batch of prescriptions you have selected includes an unmatched or partially matched patient, select OK
 to return to the Prescriptions screen and match the patient, see Matching Patients (England) for details.
 -
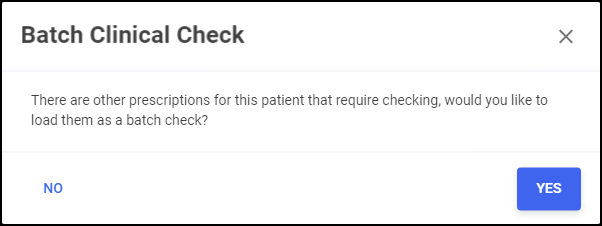
If there are other prescriptions for this patient with a status of Requires Check, you are prompted 'There are other prescriptions for this patient that require checking, would you like to load them as a batch check?'. Select Yes
 to add these to a batch clinical check, or select No
  to continue with the selected prescriptions.
-
The Prescription Details screen displays all the prescribed items for the patient, including the GP directions and label cautions.
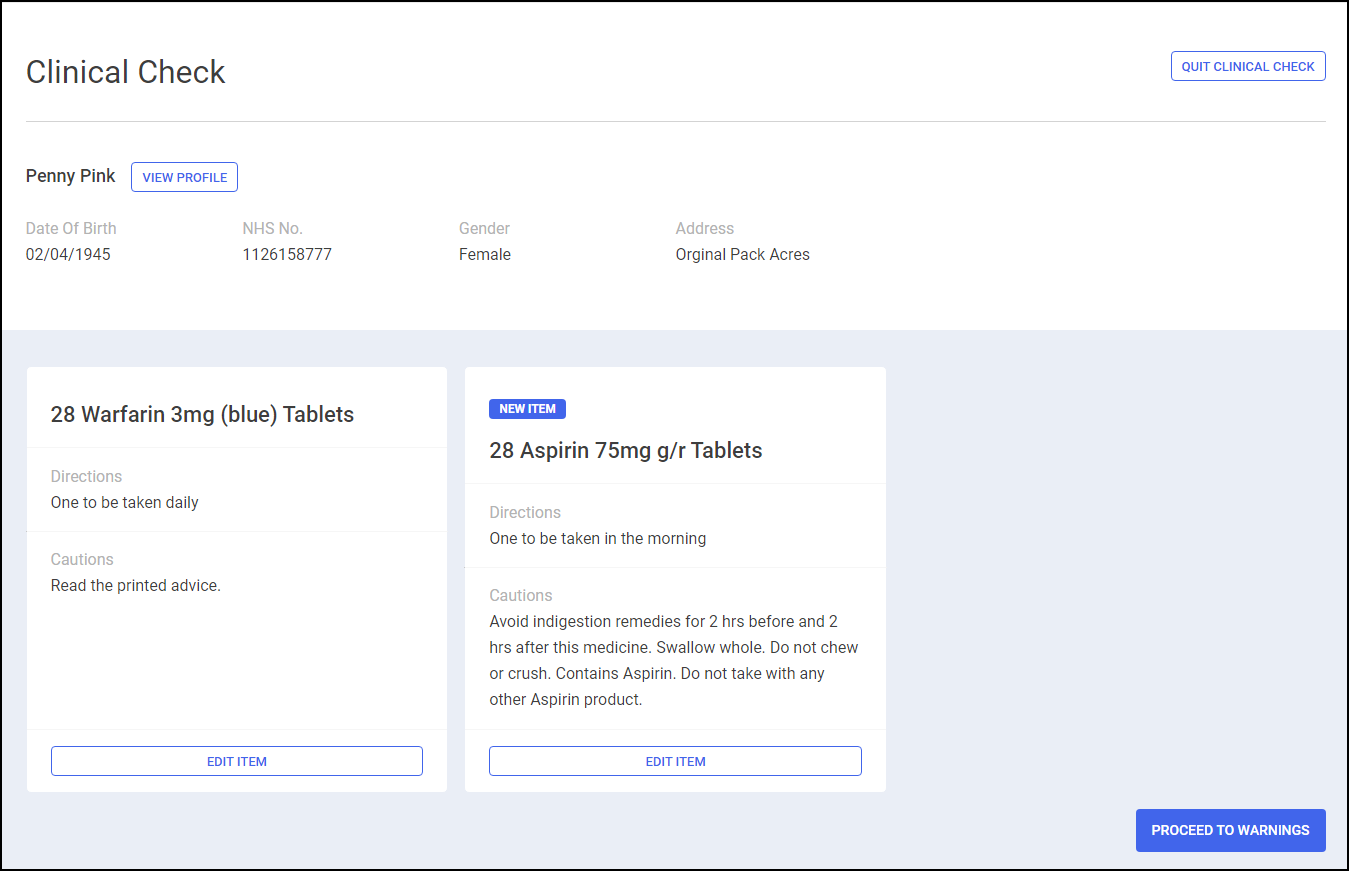
Check the details are correct and if required you can do the following:
 Edit the Directions and Cautions
Select EDIT ITEM
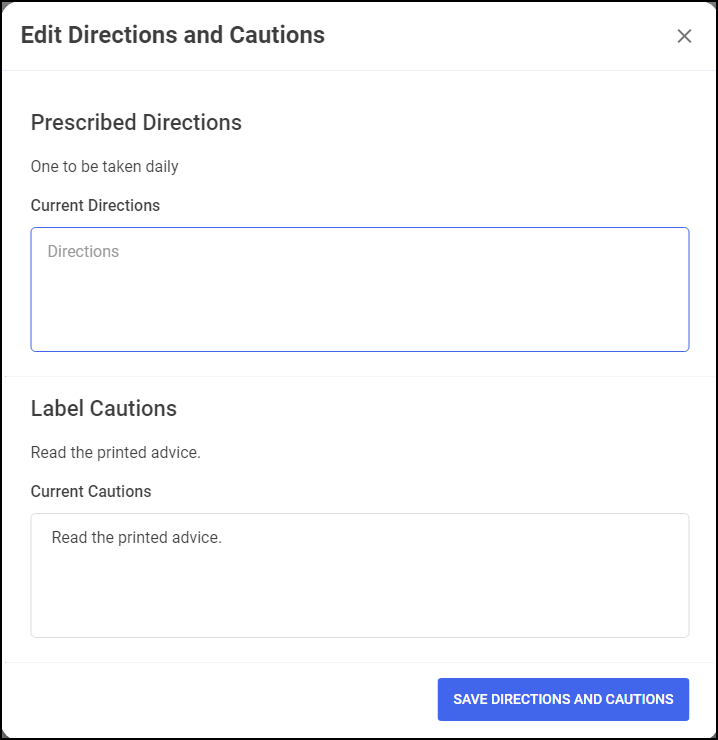
 to edit the Directions and Cautions, the Edit Directions and Cautions screen displays:
-
From the Edit Directions and Cautions screen, Prescribed Directions and Label Cautions reflect the details on the prescription.
-
Enter new directions in Label Directions where required.
-
Enter new cautions in Current Cautions where required.
-
Select SAVE DIRECTIONS AND CAUTIONS
 to update the directions and cautions.
Edited directions and cautions display on the Dispensary screen.
 View the Patient's Profile
Select VIEW PROFILE
 to view a patient's profile.
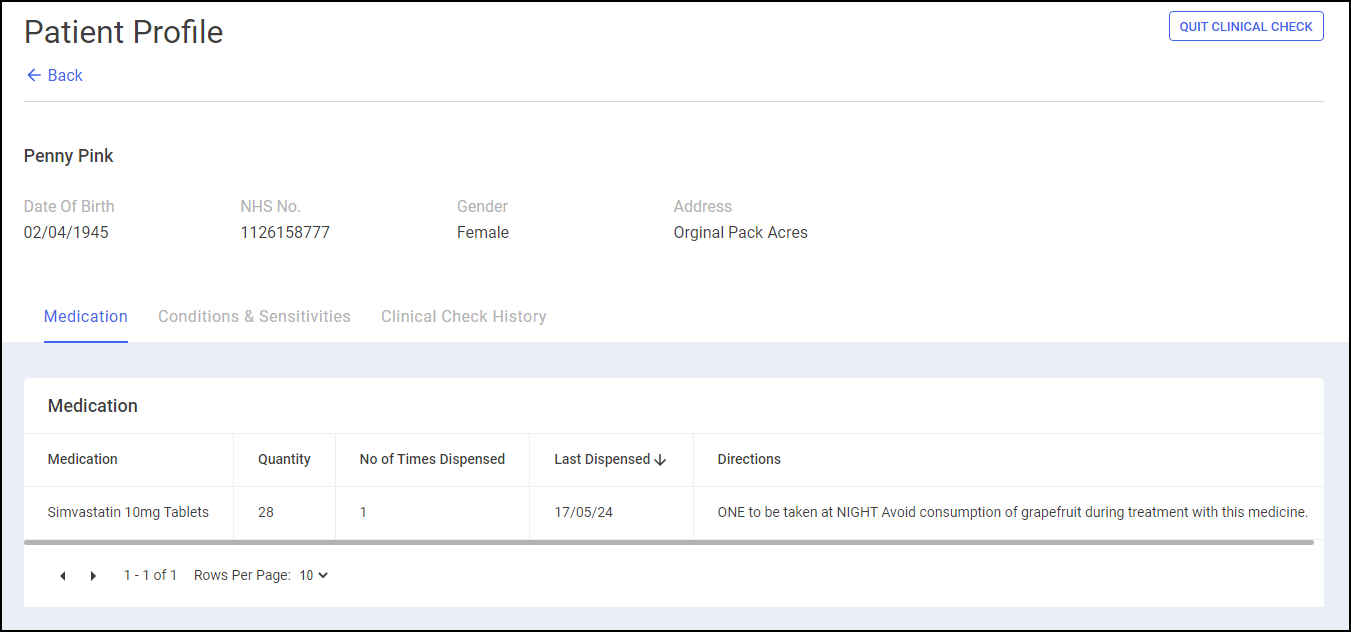
The patient's profile is split into the following tabs:
-
Medication - The patient's full medication history displays.
-
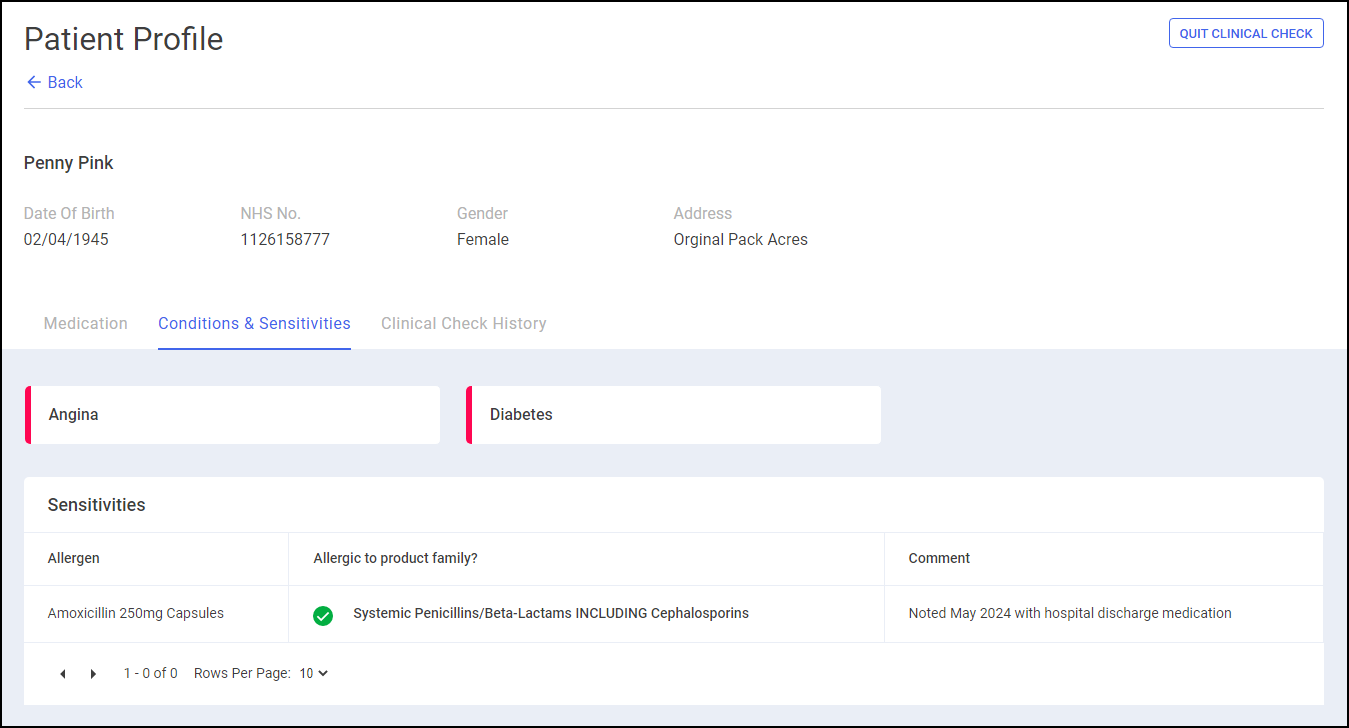
Conditions & Sensitivities - All conditions and other sensitivities in the patient's record display.
-
Clinical Check History - Displays previous Clinical Checks carried out for the patient.
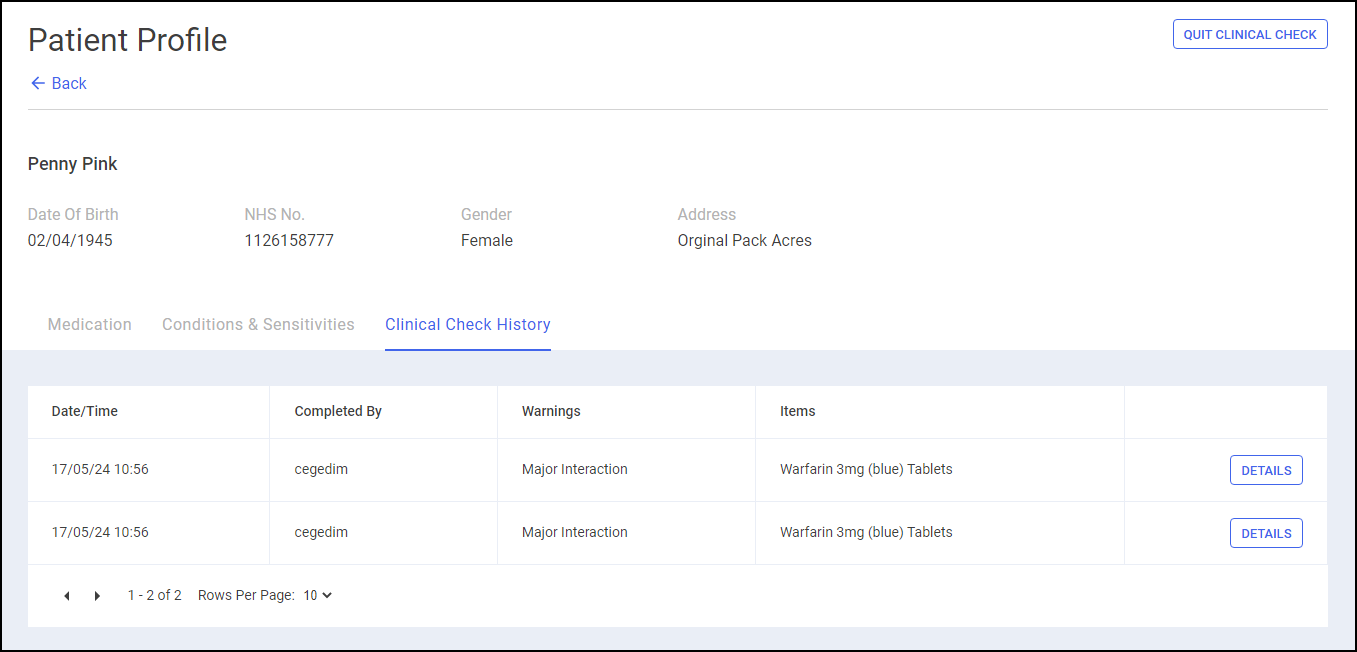
The screen displays the following:
-
Date/Time - The date and time of the check.
-
Completed By - Who was logged in when the check was completed.
-
Warnings - Type of warning.
-
Items - The items on the prescription.
-
 Abandon the clinical check
Select QUIT CLINICAL CHECK
 to abandon the clinical check.
-
-
Select PROCEED TO WARNINGS
 to continue to the Warnings screen.
 -
The Warnings screen displays.
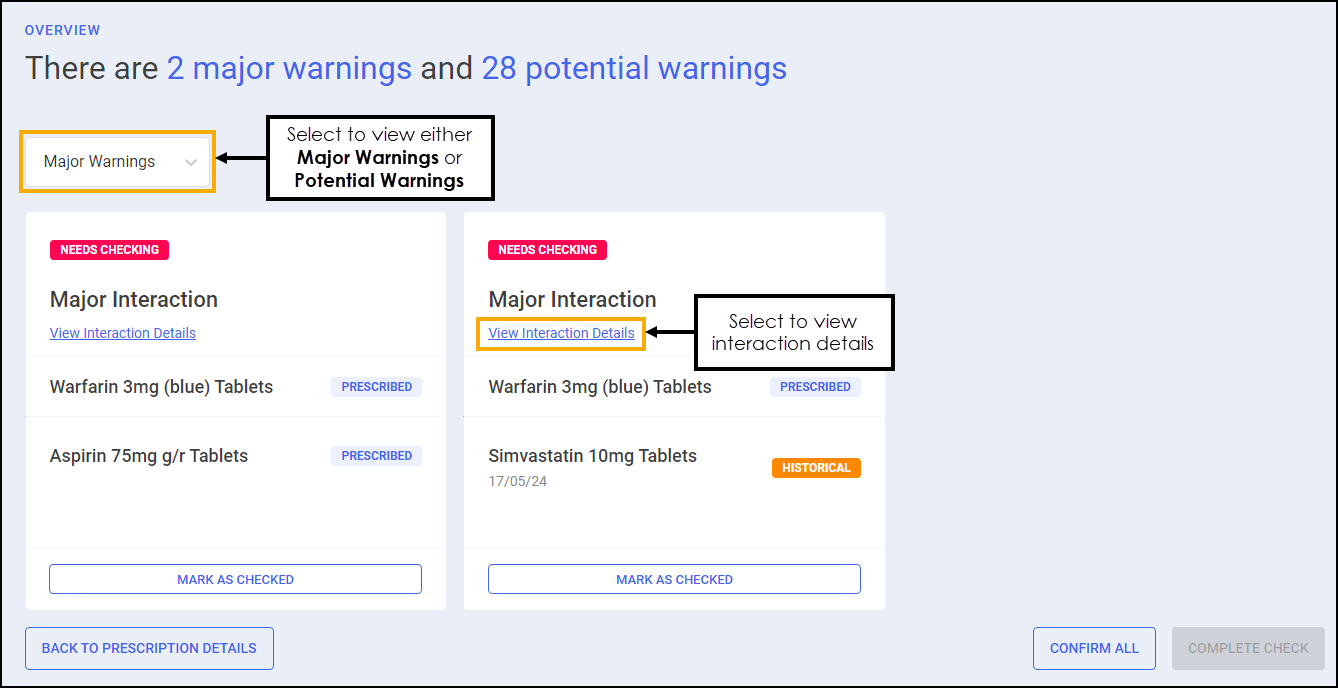
Major Warnings display as default, select Potential Warnings from the list to review all warnings.
Select View Interaction Details
 to view further details on the warning.Note - Potential Warnings only display if Patient does not have the condition is selected on the Interactions & Contraindications section of the Pharmacy Details - Checking tab. See Pharmacy Details - Checking for details.
 -
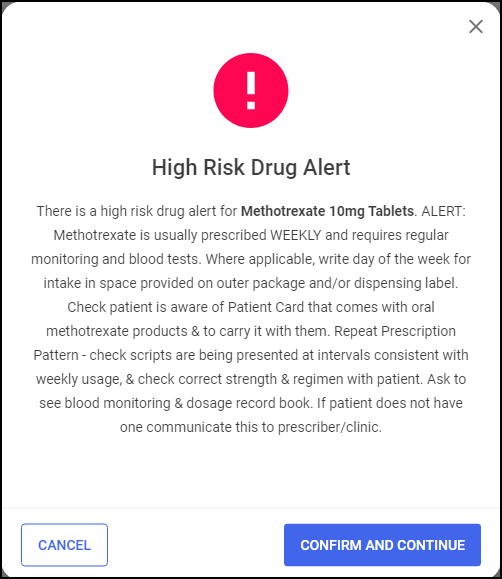
For a High Risk Drug Alert Major Warning you must view and confirm the prescription warning from the High Risk Drug Alert screen, select CONFIRM AND CONTINUE
 .
.
-
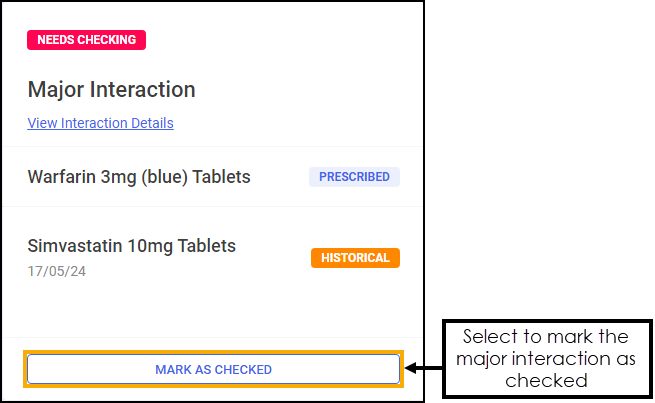
All Major Warnings must be confirmed before you can proceed. To confirm a Major Warning select MARK AS CHECKED
 or press F11 on your keyboard.
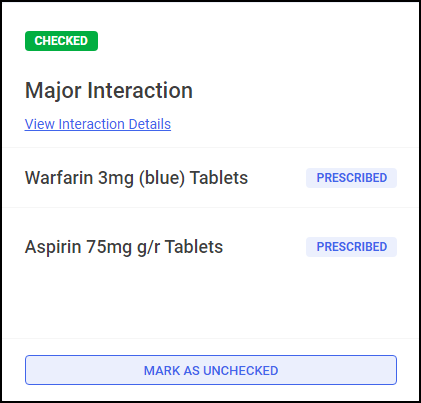
The status changes to Checked.
-
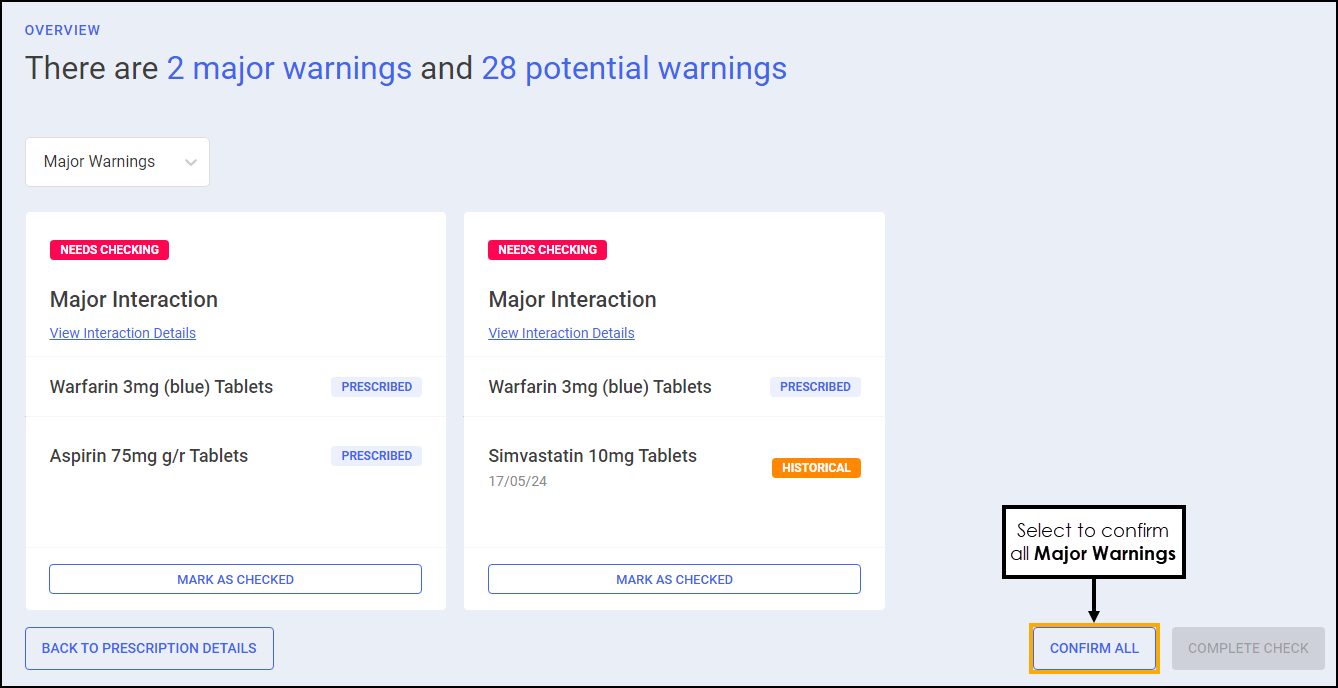
To confirm all Major Warnings at the same time, select CONFIRM ALL
 or press Ctrl + F11 on your keyboard.
-
Once all warnings are confirmed select COMPLETE CHECK
 or press F12 on your keyboard.
 -
Pharmacy Manager returns to the Prescriptions - New screen and the Clinical Check column updates to display the prescription(s) as Checked.

If Prevent editing of directions is enabled in Pharmacy Details, and once you have performed a clinical check, you will be unable to edit the directions. In order to edit the directions, you must reset the clinical check first.
Manual Clinical Check Patient History
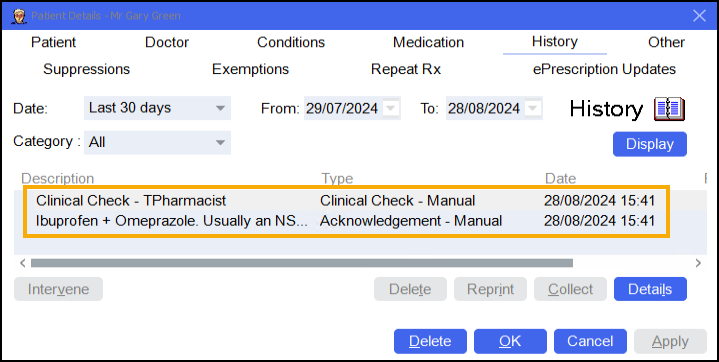
When prescriptions are manually clinically checked the following displays in the patient's history.
-
Clinical Check - Manual - The Description displays Clinical Check and the username of the logged in user.
-
Acknowledgement - Manual - Only displays if acknowledgements were made during the Clinical Check process. Description states the details of the confirmed warning.
Printing Dispensing Tokens after a Manual Clinical Check
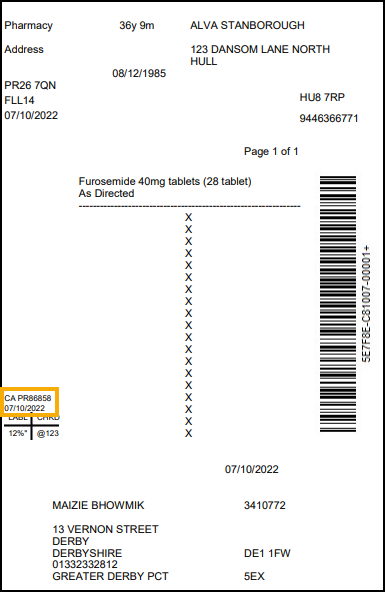
If a dispensing token is printed after a manual clinical check has taken place, and clinical checking is restricted to a user with a role of Pharmacist, the pharmacists initials, registration number and the date of the check display on the dispensing token.
