Re-Registration
Important (Scotland only) - See Returning Patients - Scotland Only for details on re-registering returning patients.
Re-Registering a Patient (2:04)
If a patient has been registered to your practice in the past and they currently have a registration status of Transferred out you can re-register the patient. They may have:
- Previously transferred out and now want to return to your practice permanently, or as a temporary resident,
- Been a short stay temporary resident, but they now want to change to a long stay, see Editing a Temporary Resident's Length of Stay for further details
- Had another registration status, for example an expired temporary resident.
Important - Before you re-register a patient, you must remove any outstanding medical record flags from their original record, see Clear Medical Records Flag for details.
To re-register a patient:
- From the Vision 3 front screen, select Registration
 .
. - Select the patient required, remember to remove the tick from Active Patients Only on the Patient Select screen so all patients list.Note - If the patient is not found on the patient list, then you can add them as usual without re-registering.
- The 'This patient is no longer active - do you wish to continue?' message may display, select Yes to continue.
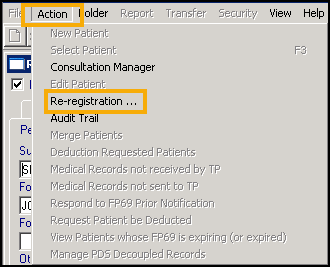
- With the patient's details on the screen, select Action - Re-registration:
- The Registration - Personal Details screen displays, check the details and update where necessary:
- Registration status - Defaults to Applied, update to Temporary if appropriate.
- Date Applied/Date Accepted - For patients re-registering, the applied date defaults to today and displays in red, previous applied dates can be viewed from the Audit Trail.
Training Tip - Use the Tab key to move through the form, do not press Enter until you reach the bottom of the form.See Registration - Personal Details (initial) for details. - Complete all the remaining screens as required in the usual way.See Adding a New Patient for details.
- Once all the details are correct, select OK.
Note - To print this topic select Print  in the top right corner and follow the on-screen prompts.