Using fast stock level adjustments
Before this feature can be used, check that you have all the required configurations in place for fast stock level adjustments.
![]() It is also necessary to ensure that other users on other terminals will
not be dispensing the same products to which you are adding stock .....
at the same time. Only once you complete this process will the updated
stock values become visible on all terminals.
It is also necessary to ensure that other users on other terminals will
not be dispensing the same products to which you are adding stock .....
at the same time. Only once you complete this process will the updated
stock values become visible on all terminals.
-
Use keyboard shortcut
 &
&  &
&

OR
-
Go into
Menu > Tools > Inquiry > Product
The Find Product screen is the same that you get when you come in from Dispensing.
-
Type in the first few letters or all of the product name.
-
Use the space bar to separate information, as in dispensing.
See Enter Product Description for further examples and explanation.

-
Click the Edit stock button.
-
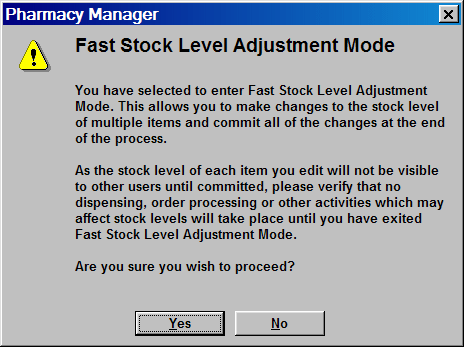
Acknowledge the prompt by clicking the Yes button.

-
The bottom of the display correlates with the highlighted product in the list above.
-
Click the New quantity field and then input the stock count for the highlighted product. Alternatively, press
 &
&
 to select the
New quantity field.
The input quantity value can be a new total. Alternatively, you can add to or subtract from the existing total. For example:
-
Type 28 to overwrite whatever the value currently is with the new value of 28.
-
Type +28 to increase the current value by 28.
-
Type -28 to decrease the current value by 28.
You cannot decrease the value to less than zero.
-
Press
 or
or  to proceed.
 -
Select a stock adjustment reason if one is required/mandatory. Either type the reason code or click the
 and
select the reason from the drop-down list.
 -
Add a note if one is required/mandatory.

-
Click the Add button to proceed once you have recorded all detail for your first product. Alternatively, press
 &
& .
. -
Move the highlight bar to the next item.
-
Repeat the adjustment and record any reasons/notes.

-
Items that have had a new stock level appended appear with a red highlight.
-
When you have applied all the changes for this selection of products, click the Save button to commit them to your stock records. Alternatively, you can save by pressing
 &
&
 .
. -
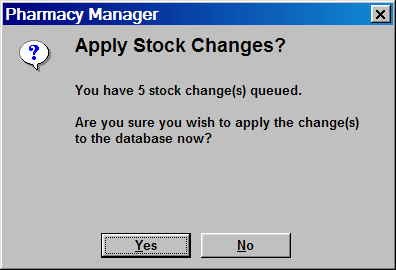
The following prompt appears.

-
Click the Yes button to proceed. Alternatively, click the No button to abort the process without saving the stock adjustments.
-
TheFind productdisplay is cleared of your selection.

-
However, when you recall the items, your stock level adjustments are all in place.
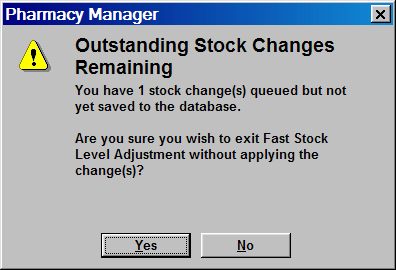
If you attempt to cancel the process after you have started making stock adjustments, you are alerted in the event that you have inadvertently clicked Cancel.

-
Click the Yes button to proceed without applying the stock level changes. Alternatively, click the No button to resume the process.
See also Reports to produce a Stock adjustment report including any changes made over any specified period.
Updated 5th October 2010