Creating a Task
Creating a Task (1:48)
Tasks can be created from various In Practice Systems Ltd products:
To add a task:
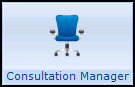
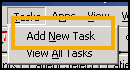
- From Consultation Manager
 , select the patient in the usual way.
 - Select Tasks - Add New Task:
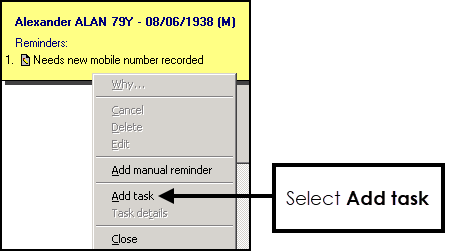
To add a task from a reminder in either Consultation Manager or our legacy Appointments system 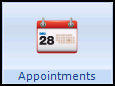 :
:
-
Simply right click on the reminder and select Add task:
-
From any task screen within Tasks, select New task
 .
.
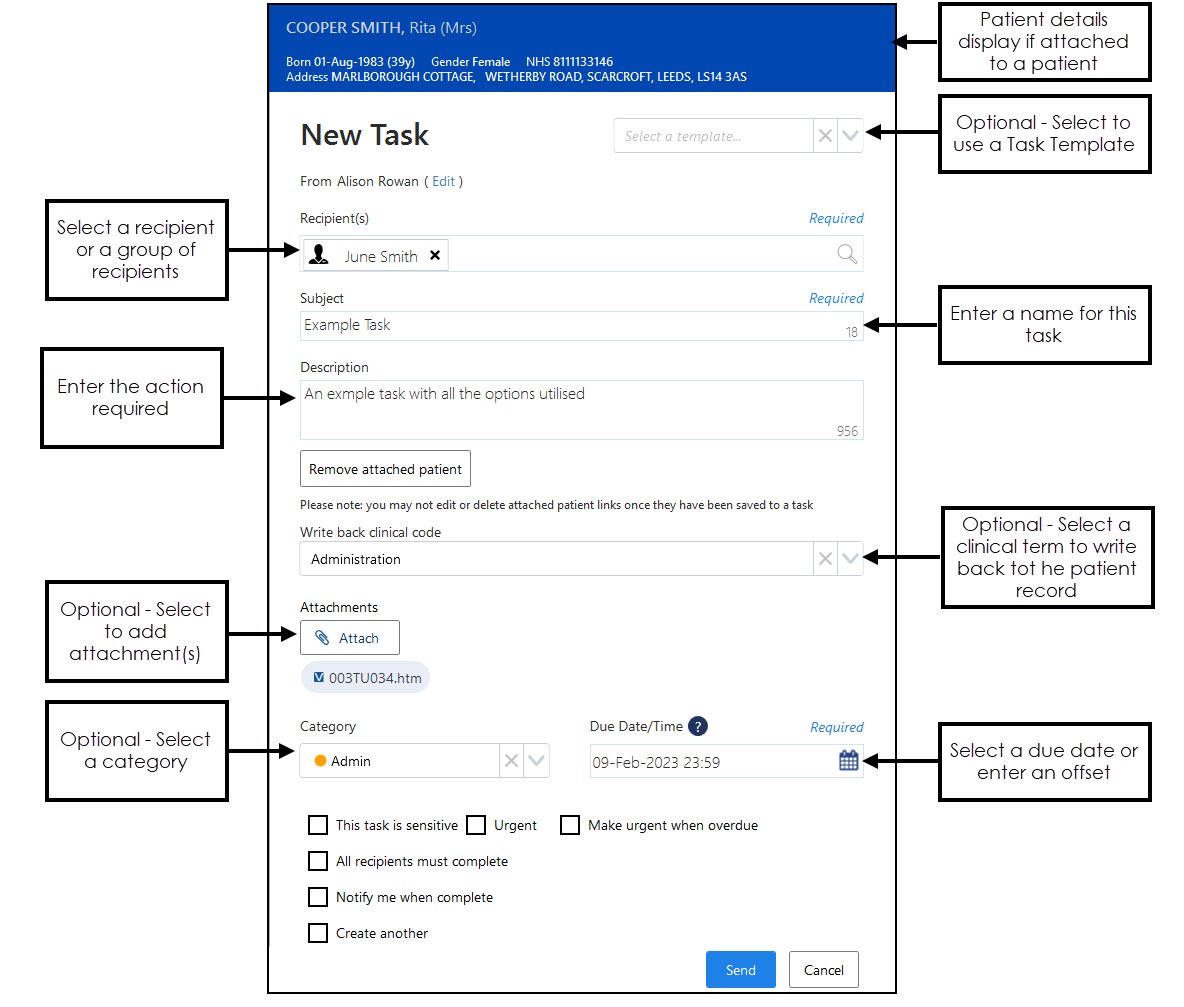
Tasks automatically opens, the New Tasks screen displays:
-
Complete as required:
-
Select a template (optional) - If you want to base this task on an existing template, select it from the available list and the relevant sections of your new task complete automatically.
Important - If you have created the task through Consultation Manager or Reminders and open a template, you will need to re-attach the patient. This is a known issue and will be fixed in a future release. -
From - Update if you are creating this task on behalf of a group of staff you are a member of, select Edit and select the appropriate group.
-
Recipient(s) - Select the recipient of this task, this can be one or more individual members of staff, yourself to act as an aid memoir or a staff group, simply start typing and a smart list displays to select from.
Note - You can select ALL USERS to send a task to every member of staff. -
Subject - Enter a short description of the task, up to 30 characters, this appears in the My tasks list of the recipient.
-
Description - Enter a full description for the task, up to 1000 characters.
-
Attach patient (optional) - Select
 to attach a patient:
-
The Search for patients screen displays, type the patient name (either in full or part), press return or select Search
 . A list of matching patients displays, select the patient required. Select More Patient Info
  for further demographic information:
-
-
Write back clinical code (only available if a patient is attached) (optional) - Select a clinical code from the list available to write back to the patient record when the task is completed, see Writing Back Clinical Codes for details.
Note - If you select to write back a clinical code to a patient record, although the clinical term is searchable within your clinical system, the entry displays on the patient record as 'Tasks V3 Write back'. Please also be aware the clinical entry is allocated the default Consultation type of the staff member completing the task, for example, if a clinician completes the task, even if it is an administration clinical code, it is recorded as a Surgery Consultation if that is their default Consultation type, see Consultation Manager Setup - Consultation in the Consultation Manager Help Centre for details. - Attachments (optional) - Select Attach
 to add an attachment to this task, see Adding Attachments for details.Note - There is a 2MB file limit for attachments.
 -
Category (optional) - Select from the pre-defined list, this allows the recipient to filter tasks allocated to them.
-
Due date/Time - Defaults to today's date. If required, select a date that this task should be completed by, either selecting the Calendar
 and then a date or enter an offset time frame using the usual d = days, w = weeks, m = months or y = years short hand, for example, 2d = 2 days.
 -
This task is sensitive - Tick to mark a task as sensitive, if selected only the sender, recipients and system supervisors can see the full details of the task.
Important - Ensure you do not include sensitive data in the Subject line as this may inadvertently be seen by unauthorised staff. - Urgent - Tick if this task should be marked as urgent. If Make this urgent when overdue is already selected, this option is not available.
- Make this urgent when overdue - Tick if the priority of this task should increase when overdue. If Urgent is already selected, this option is not available.
- All recipients must complete (optional) - If this task is going to a group of recipients, tick to request they all complete the task as opposed to just one of them.
- Notify me when complete (optional) - Tick if you want to receive an announcement when this task is marked Complete. Note - Task Completed announcements expire after seven days.
- Create another - Tick to automatically start another new task when you select Send.
-
- Select Send to save and send the task.
A 'Task was sent successfully' message briefly displays at the bottom of your screen.
 and then select the appropriate template.