Running MIQUEST Queries
To run one or more MIQUEST queries:
-
From the Vision 3 front screen, select Reporting - MIQUEST
 .
. -
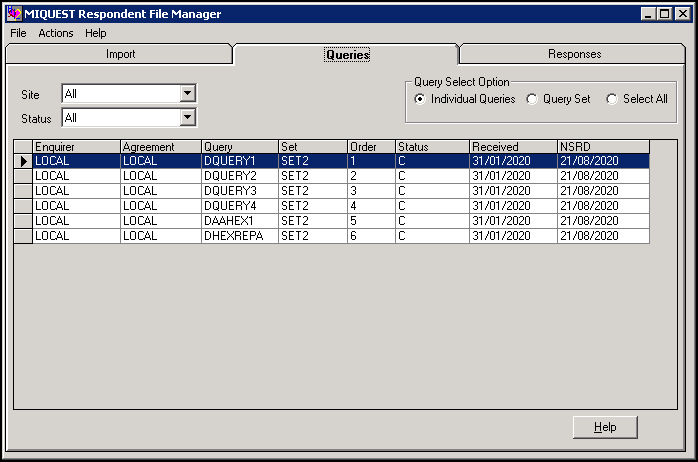
The MIQUEST Respondent File Manager screen displays with the Queries tab selected:
-
Complete each of the following steps in turn:
Select an action below to expand the details.
 View the Queries
To read and import MIQUEST queries:
-
From MIQUEST, select the Import tab.
-
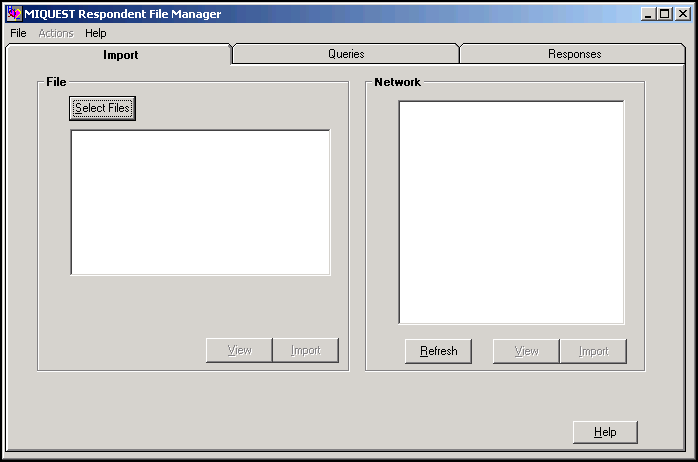
Choose Select Files and then select the correct disk drive and directory:
-
Highlight the query you require from File and select View.
-
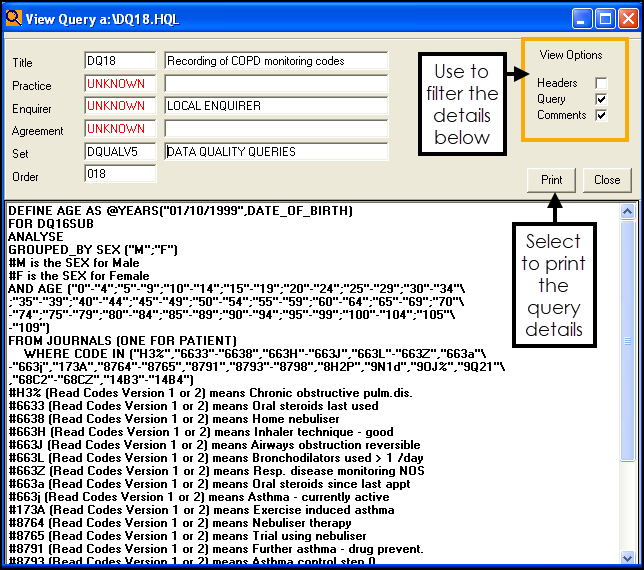
The View Query screen displays showing the text of the query, this can be filtered using View Options:
-
Headers - Tick to display query headers.
-
Query - Tick to display the query lines.
-
Comments - Tick to display comments attached to the query.
-
-
Optional, select Print to print the query.
-
Select Close to close the View Query screen.
 Import the Queries
To import the queries you require:
-
From MIQUEST, select the Import tab
-
Either:
-
Highlight the query you want to import and select Import, or
-
Select Import with no queries selected to import all queries.
Training Tip - Multiple queries can be selected by using standard windows short cut keys, hold the Control key down and select all the Queries required.
-
-
Once the import process is complete, a message displays stating how many queries have been imported, select OK.
 Authorising Queries
To authorise queries:
-
From MIQUEST, select the Queries tab to view all the imported queries currently on the system.
-
From Status, select Unauthorised, or select Query Set which automatically selects all unauthorised queries in this set:

-
You now have the following options:
-
To authorise all queries - Select all the queries in a set by either chosing Select All (if only one set exists) or Query Set (having first clicked within that set of queries), then right click and select Authorise.
-
To authorise selected queries - Highlight the query required, right click and select Authorise.
Remember - You can hold your Ctrl key and select multiple queries.
-
The query status changes from U to A. If you have selected Unauthorised from Status, you can no longer see the queries, select a Status of Authorised to see them again.
 Run the Queries
To run queries:
-
From MIQUEST, select the Queries tab, view all the queries currently on the system.
-
Select Status - Query Queue to display the list of queries that are ready to run:

-
Now either:
-
Select Actions-Run Now, or
-
Select Actions-Run Later, enter a Date and Time to run the queries and then select Set Timer. The 'Timer has been set for dd/mm/yyyy hh:mm:ss' message displays, select OK to continue:
 Training Tip - To remove the timer, right click on the query and select Run Now, the 'This action will clear timer setting-do you wish to continue?' message displays, select OK to continue.Important - If you select Run Later, ensure the time you select does not clash with any scheduled processes that require sole access to Vision 3, for example, a backup.
-
A progress bar displays while the query runs. The display refreshes as each query completes. Running queries may take some time, depending on the size of your practice data:
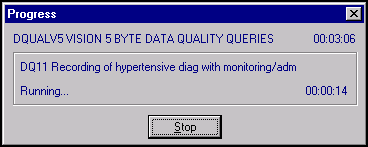
To stop a run before it completes, select Stop, please note however, the query it is running completes before stopping.
 Authorise the Responses
To authorise responses:
-
From MIQUEST, select the Responses tab and the list of responses display.
-
From Status, select Unauthorised.
-
You can now either:
-
Authorise all responses - Chose Select All, right click within the list of queries and select Authorise, or
-
Authorise selected responses - Select an individual response by clicking in the left most column of that row, or select multiple responses by holding down the Ctrl key and selecting the responses required. Once you have selected the responses you require, right click on one of them and select Authorise.
-
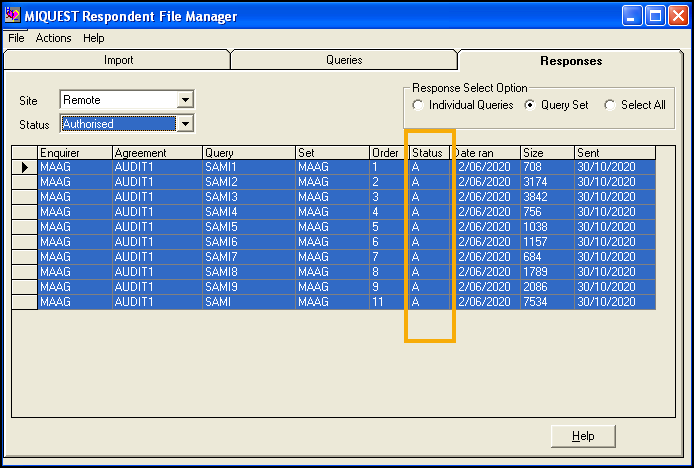
Once authorised, the responses have a status of A:
To view the response details for any query, right click on the query and select View. View Response displays the text of the query and the response. Select Print to print the response.
 Return the Responses
-
From the MIQUEST - Responses, in Site, select a single site and then from Status, select SEND LIST.
-
Right click and select Send.
Note - Send is disabled until you select a single site from Site. You cannot send to all sites.
The response is sent via your GP Communicator, so this process must be carried out on your GPC machine or whilst logged into your EDI account. All authorised responses are sent.
-