Handout Manager Settings
Handout Manager - Getting Started with Location Management (1:04)
Device Registration
Each device must be registered to Pharmacy Manager before use.
To register a device:
-
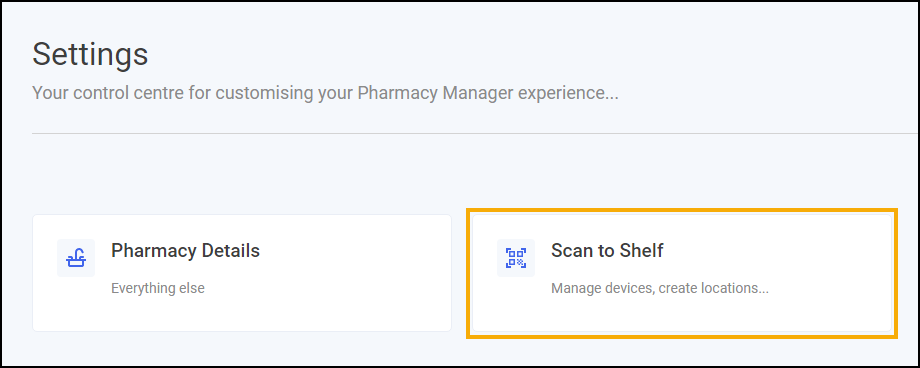
From the Pharmacy Manager Toolbar, select Tools - Settings - Handout Manager.
-
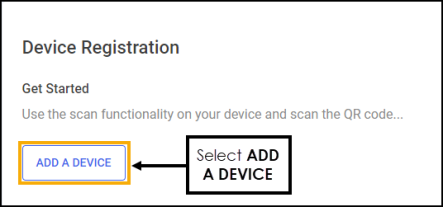
From Device Registration - Getting Started select ADD A DEVICE
 .
.
-
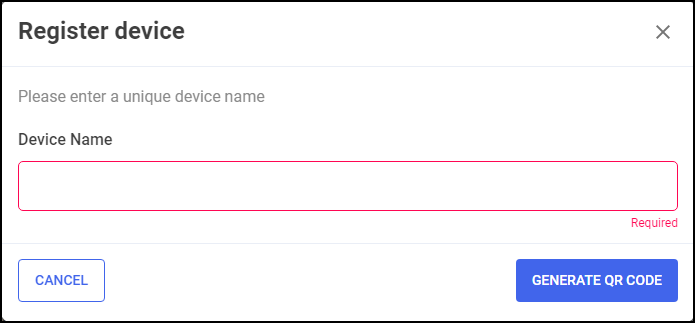
The Register device screen displays, enter a unique device name.
-
Select GENERATE QR CODE
 .
. -
A QR code displays on the screen, use the scan functionality on the device you are registering to scan the code.
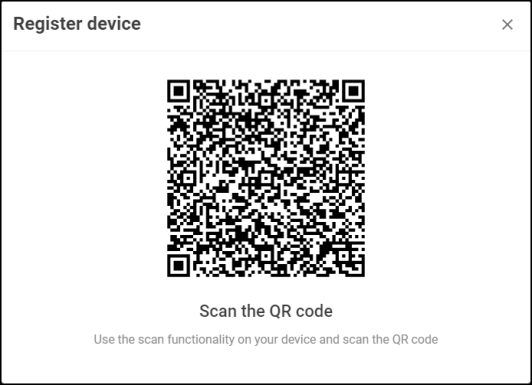
Once connected, the Handout Manager SIGN IN screen displays.
Location Management
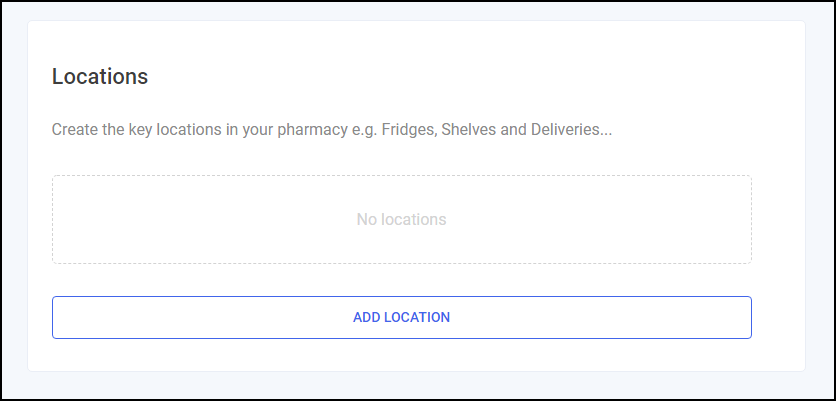
Create locations across your pharmacy, this could be multiple shelf locations, deliveries, fridges or Controlled Drug cabinets.
When you first enable Handout Manager there are no locations set up.
Adding a New Location
To add a new location:
-
From the Pharmacy Manager Toolbar, select Tools - Settings - Handout Manager.
-
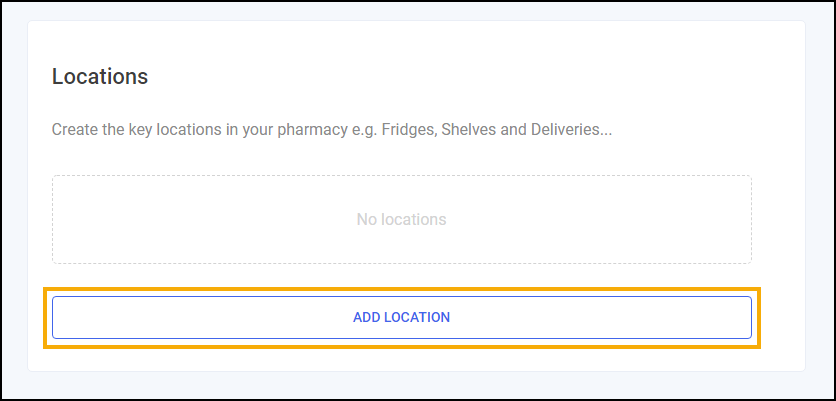
From Locations, select ADD LOCATION
 .
.
-
The Add Location screen displays.

Enter the following:
-
Location Type - Select the correct location type from the drop-down list.
-
Location Name - Enter a name for the location, for example, Top Shelf or Controlled Drug fridge.
-
-
Select ADD LOCATION
 .
.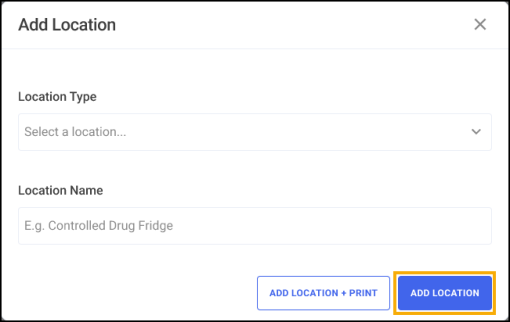 Training Tip - To print the location label at the same time, select ADD LOCATION + PRINT
 . Additionally, once all locations are created, from Locations, select PRINT ALL
  .
.