Location Management
Handout Manager - Getting Started with Location Management (1:04)
You can manage your Handout Manager locations in the pharmacy.
Adding Locations
To add a new location:
-
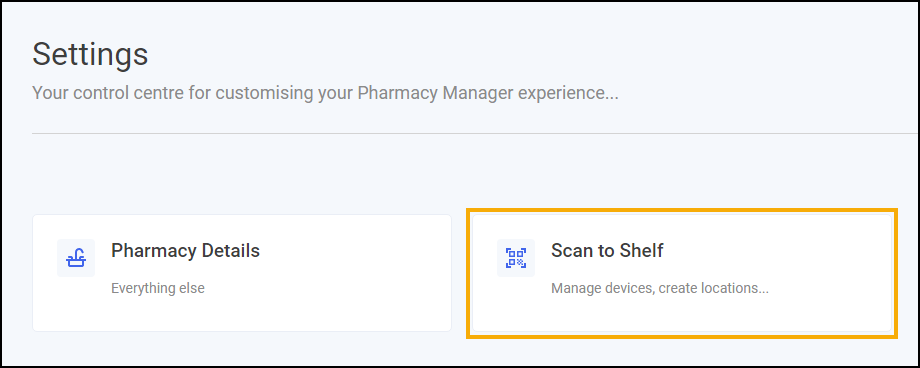
From the Pharmacy Manager Toolbar, select Tools - Settings - Handout Manager.
-
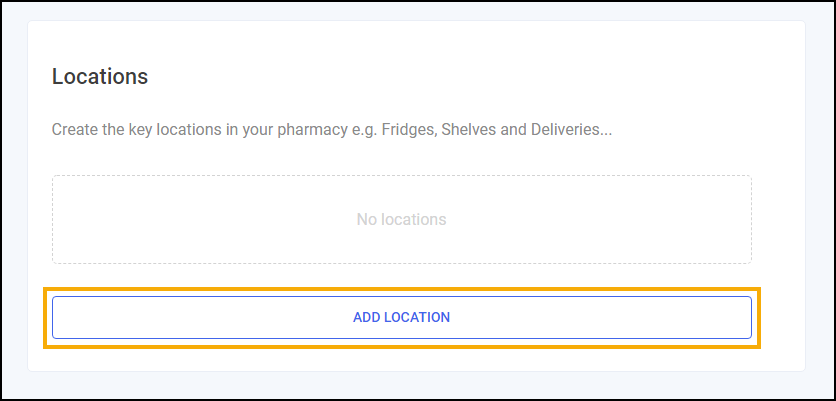
From Locations, select ADD LOCATION
 .
.
-
The Add Location screen displays.

Enter the following:
-
Location Type - Select the correct location type from the drop-down list.
-
Location Name - Enter a name for the location, for example, Top Shelf or Controlled Drug fridge.
-
-
Select ADD LOCATION
 .
.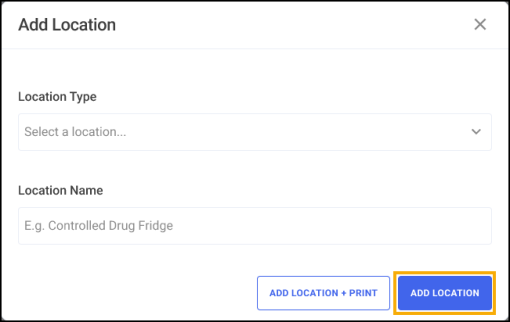 Training Tip - To print the location label at the same time, select ADD LOCATION + PRINT
 . Additionally, once all locations are created, from Locations, select PRINT ALL
  .
.
The locations display in the order they were created.
Editing Locations
To edit a location:
-
From the Pharmacy Manager Toolbar, select Tools - Settings - Handout Manager.
-
From Locations, select Options next to the required location.
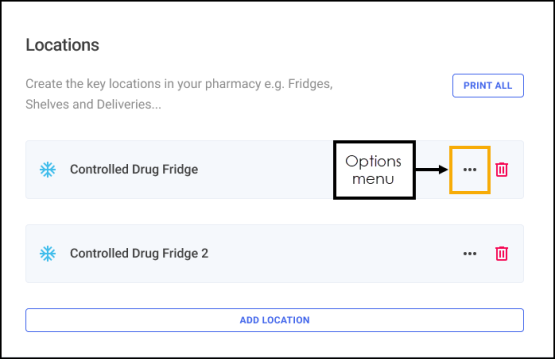
-
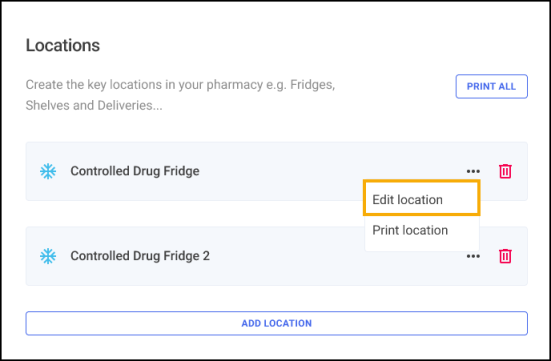
Select Edit location.
 Note - You cannot edit a location if bags are assigned to it.
 -
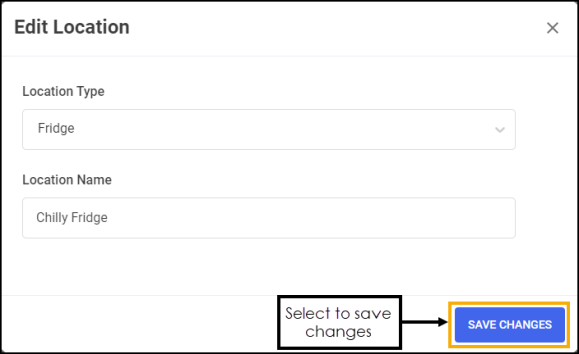
The Edit Location screen displays, make the changes required and then select SAVE CHANGES
 .
.
Deleting Locations
-
From the Pharmacy Manager Toolbar, select Tools - Settings - Handout Manager.
-
From Locations, select Delete
 next to the required location.
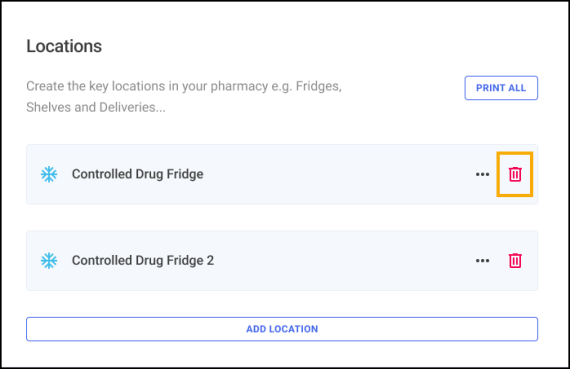 Note - You cannot delete a location if bags are assigned to it.
 -
An 'Are you sure you want to permanently remove this location' warning displays.
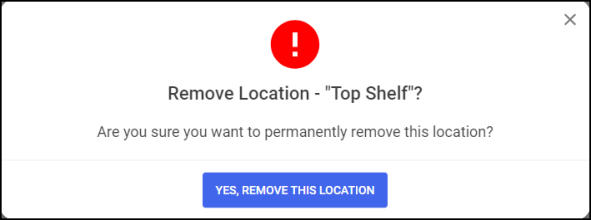
Select YES, REMOVE THIS LOCATION
 .Training Tip - When deleting a location, remember to remove any labels from the physical location.