Guidelines - Adding an Image
Note - When you insert an image into a Guideline, you are only establishing a link to that image. This operation does not copy the image and so in order for your Guideline to display the image correctly, the image must be stored centrally for all users of Vision 3.
To add an image to a Guideline:
- With a Guideline in design mode, from the floating toolbar, select Image
 .
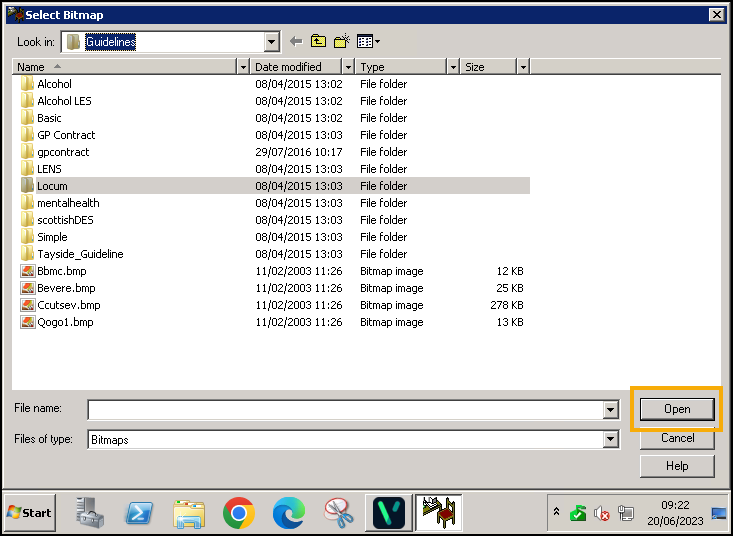
. - The Select Bitmap screen displays, navigate to the image to be included, and select Open:
The size of the bitmap may be adjusted by using the + and - keys on the main guideline window; the effect of this is to adjust the height and width of the bitmap proportionally. Bitmaps have their own internal size and on selecting a bitmap a fixed width column large enough to contain this bitmap is created.
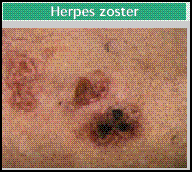
The bitmap itself will be displays in the main guideline window, for example:
 Training Tip - You may want to use Go to New Line
 after an image if you adding more than one image or the next image displays alongside the first.
Note - To print this topic select Print  in the top right corner and follow the on-screen prompts.