Announcements
Simply select New Announcement  from your Tasks screen, complete the details as required and select Send.
To send an Announcement to multiple recipients, simply select the first recipient or group in Recipient(s) and then repeat until all the recipients are listed:
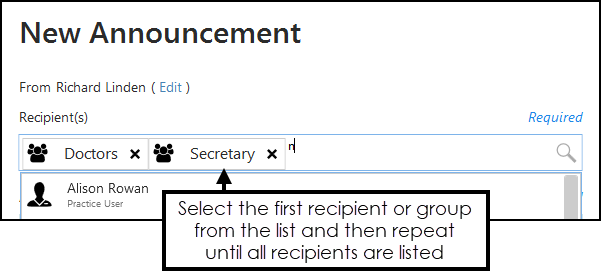
To send an announcement to all staff, select ALL USERS.
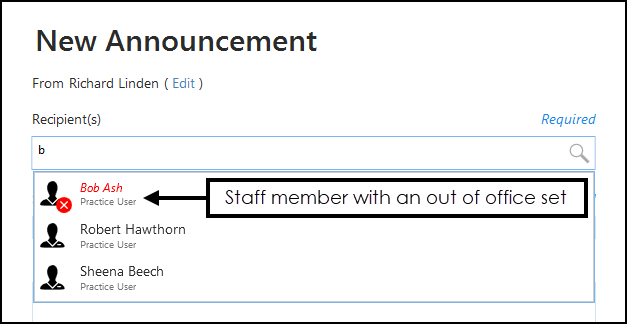
When you select a recipient for an announcement, if they have an out of office set up, their name displays in red and the dates of their absence displays alongside. If you select a staff group where a member of the group has an out of office set up, the number of staff with an out of office displays in brackets:
An unread announcement displays with a thin blue line around it:
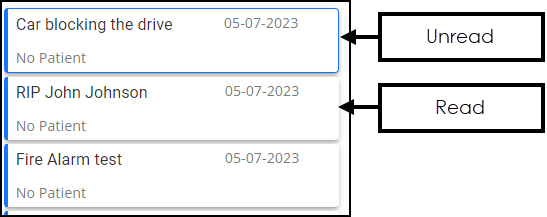
From your Tasks screen, the number next to ANNOUNCEMENT increases.
If Tasks is open but minimised or, hidden behind another screen, when you receive a new Announcement or Task, a red disk displays on Tasks on your taskbar  .
.
You can only recall an announcement if you were the one that created it.
From ANNOUNCEMENT - Sent, select Options  and select Recall.