Adding Tasks
Simply select New Task  from anywhere within Tasks, complete the details as required and select Send
  .
.
Simply select Templates  and select from the list offered, complete the details as required and select Send .
When you select Templates , a list of templates displays to select from. Depending on how your system is set up, and which staff groups you are a member of, you are offered either a short list of your most frequently used tasks or a longer list with your most frequently used at the top.
To add a task from Consultation Manager:
- From Consultation Manager
 , select the patient in the usual way.
 -
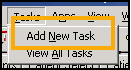
Select Tasks - Add New Task:
-
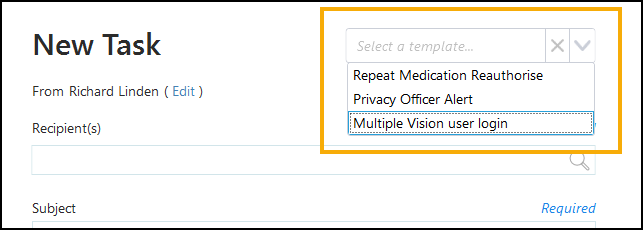
Tasks automatically opens, the New Task screen displays and the selected patient is attached. If required, select a template from the list available in Select a template:
-
Complete the task details as required.
- Select Send .
You can add a task from a reminder in both Consultation Manager and legacyAppointments  .
.
- Simply right click on the reminder and select Add task.
- Tasks automatically opens, the New Task screen displays and the selected patient is attached. If required, select a template from the list available in Select a template.
- Complete the task details as required
- Select Send .
A self-assigned task is a task that you create to remind yourself of something, for example, an appointment or a letter to write.
Simply select New Task from anywhere within Tasks and select yourself in Recipient(s):
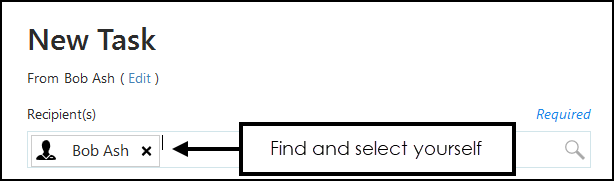
Now, complete the task in the usual way.
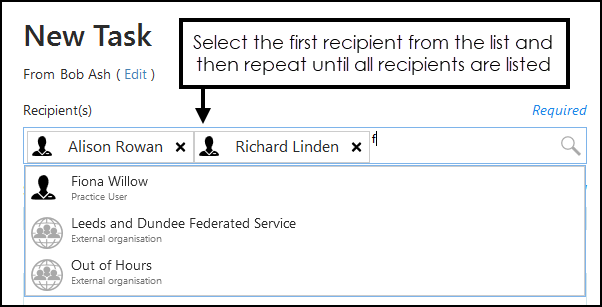
To send a task to more than one recipient, simply select the first recipient in To and then repeat until all the recipients are listed:
To request all recipients action a task, tick All recipients must complete  .
.
To add an attachment to a task, select Attach  and select the file required.
You can send a task for a person in another practice, providing you have a sharing agreement in place, by simply ensuring:
- Their organisation is selected in Recipient, external organisations are denoted by the External group symbol
 and a footer of External organisation displays:

- If the task is for a specific person, they should be named in the Subject.
- A Category is selected from the available list.
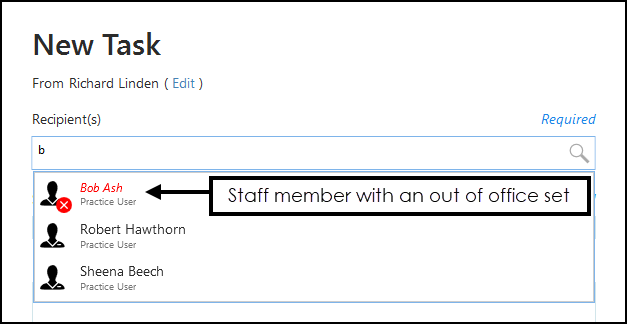
When you select a recipient for a task, if they have an out of office set up, their name displays in red. If you select a staff group where a member of the group has an out of office set up, the number of staff with an out of office displays in brackets:
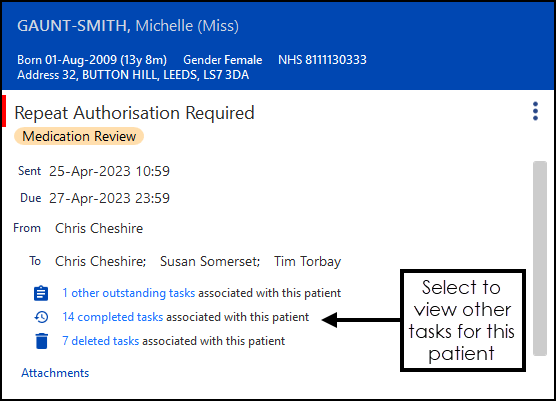
After selecting a task, if other tasks exist for the same patient, they display split into outstanding, completed and deleted, select as required:
The ability to mark a task as sensitive enables you to create a task that can be seen by, but cannot be read by, inappropriate members of staff. For example, a patient calls the practice and says someone tried to call them from the practice earlier, the recipient of the call can see that the task exists and who it is assigned to and so can route the call accordingly.