ScanDisk
ScanDisk is a Windows utility which detects and corrects errors. You should run ScanDisk on a regular bases and especially whenever you notice a hard drive is not performing well. You can run ScanDisk on the system's primary hard drive and also on any secondary hard drives or external hard drives.
To run ScanDisk:
-
From your Windows toolbar, select the File Explorer icon if you have one, if not search for and run File Explorer.
-
Select Computer/This PC to view your drives and devices.
-
Right click on the device or drive required and select Properties.
-
The Properties screen displays, select the Tools tab:
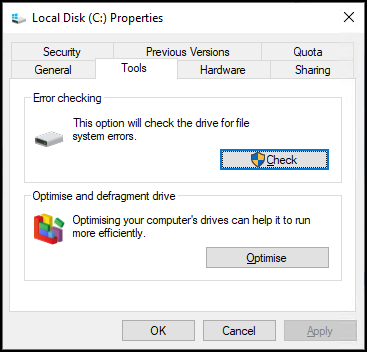
Windows 7 users:
-
Select Check now.
-
Select from:
-
Automatically fix file system errors - To perform a basic fast scan of the drive and only takes a few minutes,
-
Scan for and attempt recovery of bad sectors - To perform a more thorough scan. Windows can take 10 hours or longer to run ScanDisk depending on the size of your hard drive. Run this if you have noticed a problem with the hard drive's performance.
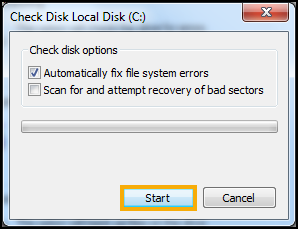 Note - For regular checks, run the basic check most of the time and the longer check only occasionally. However, do not use the computer for any other purpose whilst undertaking a ScanDisk.
 -
-
Select Start.
Windows 10 users:
-
Select Check.
-
The Error Checking screen displays and the system checks for errors on the drive, the following can display:
-
You don't need to scan this drive - There are no errors on the drive, select Scan drive if you still want to run the scan.
-
Repair this drive - Errors were found on the drive, select Repair drive to repair the errors.
-
-
For further assistance, contact the Service Desk, see Contacting Us for Support for details.