Setting up and Populating a Test Patient
After Carbonite Migrate is installed on your system, we recommend you create and populate a test patient on your system.
This gives you a patient to check details on and use going forwards as a training and practice patient.
To add a test patient:
-
From the Vision 3 front screen, select Registration.
-
Select New Patient
 .
. - The 'Add Member to an existing Family' message displays, select New.
-
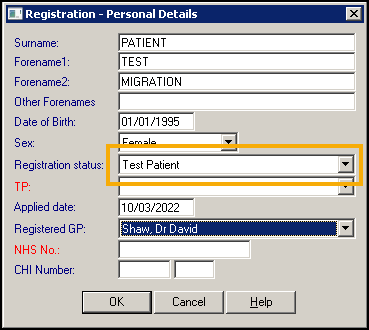
The Registration - Personal Details screen displays, you must set up the test patient with the following details:
-
Surname - Patient
-
Forename1 - Test
-
Forname2 - Migration
-
-
The New Patient Vision message displays, select Yes to continue.
-
The Registration Details screen displays, complete as required.
Complete the rest as required, ensuring that in Registration Status you select Test Patient:
You should now add some clinical detail to this patient record. We recommend creating a record similar to the record below with a mix of dates and data:
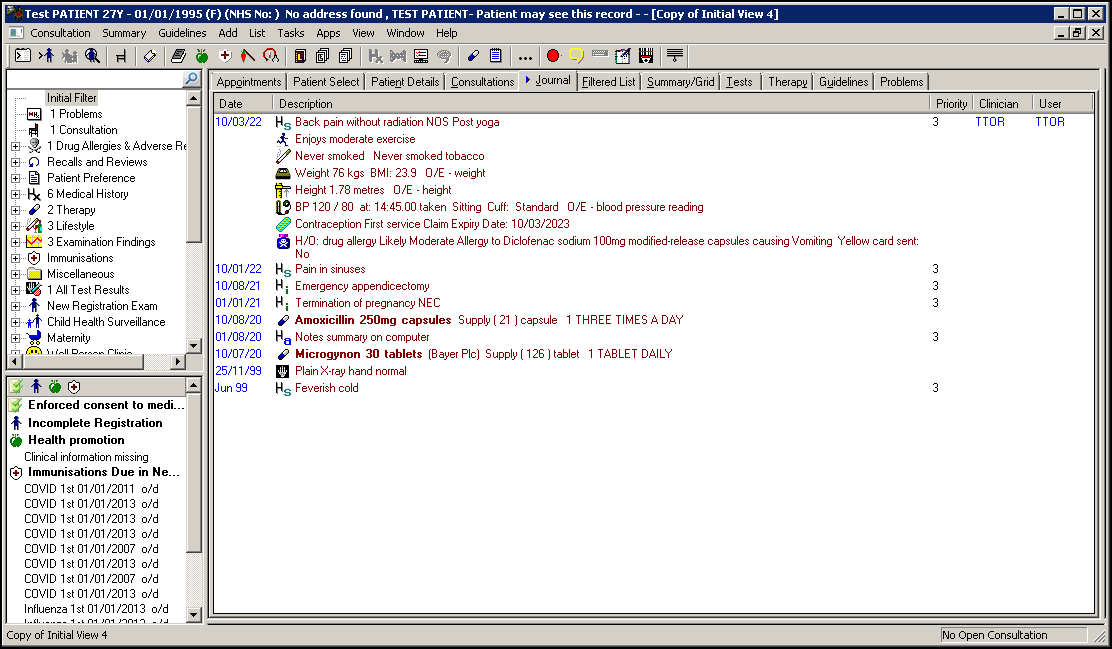
For example:
-
Medical History entries - Add a few medical history entries with different priorities and clinical terms, see Adding a Medical History Entry in the Consultation Manager Help Centre for details.
-
Acute Therapy items - Add a few acute medication entries, see Adding and Printing an Acute Prescription in the Consultation Manager Help Centre for details.
-
Repeat items - Add a few repeat master entries, see Adding a Repeat Prescription in the Consultation Manager Help Centre for details.
-
Examination Findings - Add a few examination findings, see Using the Add Menu in the Consultation Manager Help Centre for details.
-
Test Results - Add a few examination findings, see Adding Test Results Manually in the Consultation Manager Help Centre for details.