Summarising a Document
To summarise a filed document:
-
From DocHub, select Filed from the Side Navigation Bar.
Training Tip - You can sort the documents into any order by selecting a column header to order them by. -
Select the document name to display a preview.
-
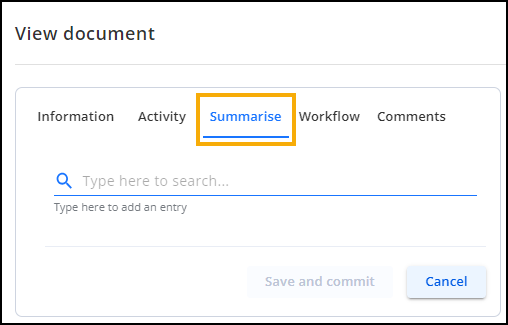
Select the Summarise tab and allocate clinical terms relating to this document. The first time you select the Summarise tab it is in edit mode, after that you must select Edit to add or update any clinical terms:
-
To add a clinical term, start entering the term required above Type here to add an entry:
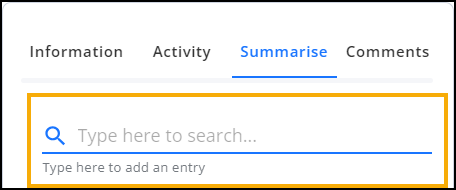 Training Tip - If you have already added clinical terms to this document, you must select Edit
 before you can add more.
 -
Select the term required from the smart list:
Training Tip - Standard Vision Anywhere short cuts apply here, for example, enter a Blood Pressure result to trigger a Blood Pressure add form with the Systolic and Diastolic completed.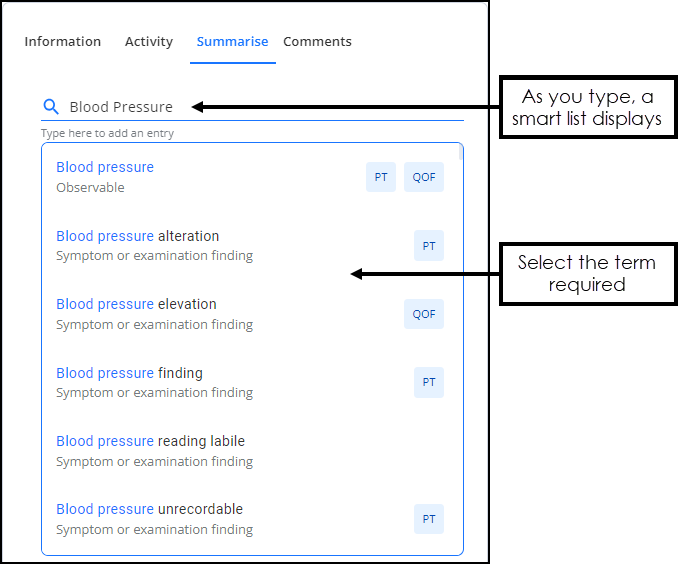
-
Depending on the clinical term selected, an appropriate Add entry form displays:
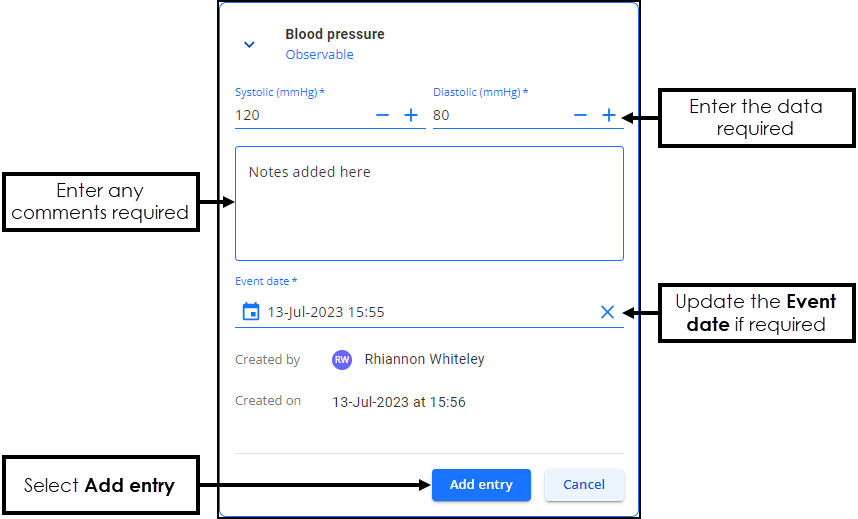
Complete as per the document you are summarising, the entry details depend on the clinical code you have selected.
n Previous entries
 (where n is the number of entries) - This banner displays if there are similar records on the selected patient record. Select View to display the records:
-
Select Add entry
 .
. -
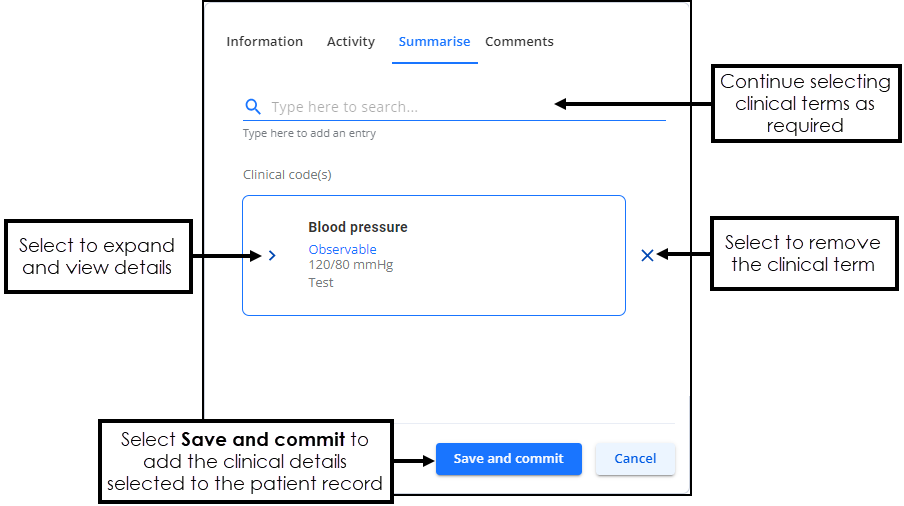
Repeat from step 4 until all the clinical terms required and related comments are added:
 Training Tip - Select Clear
 to remove a clinical term from the document and the patient record.
 -
Select Save and commit
 to update the patient clinical record.
 -
Select Close Preview or
 to return to the DocHub Home screen.