Adding Patient Identity Verification Details
When a patient asks to register for online services, you must ask them to provide you with a form of identification. Once you have viewed this, you must record that you verified their identity and the form the verification took. To record identity verification:
Record an Identification entry
Identification Type is a screen for recording the type of identification, presented by the patient. If identification is not recorded it is not possible to complete the creation of an online account.
- From the Vision 3 front screen, select either:
- Registration
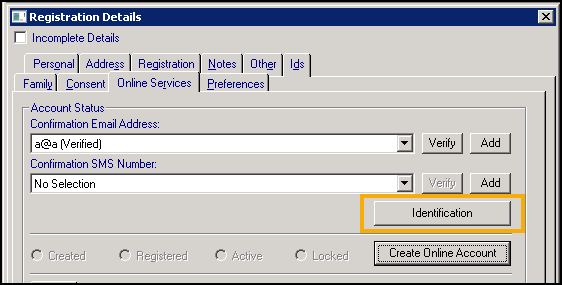
 and select the patient required, select the Online Services tab and then Identification:
- or, Consultation Manager
 and select the patient required, select List - Identification:
- Registration

- The Identification Type screen displays:
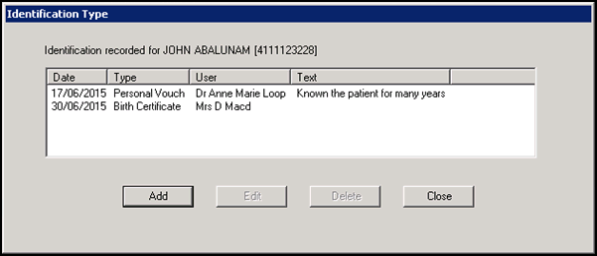
- Select Add to add details.Note - You can also update or delete identification details by highlighting the entry required and selecting either Edit or Delete.
- The Identification - Add screen displays:
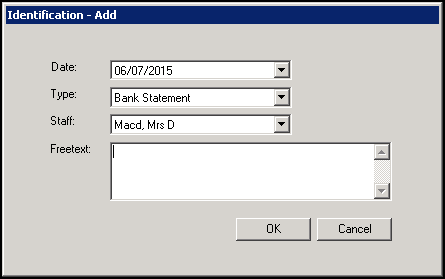
- Complete as required:
- Date - Defaults to today, select to display a calendar and select the date the identification was presented if required.
- Type - Select from the available list.
- Staff - Select the staff member that checked the identification from the available list, this initially defaults to the person currently logged in.
- Freetext - Enter any free text comments required.
Training Tip - If a patient provides another form of ID in the future, rather than edit the existing information, you should add a new entry.
Record a patient registration data verified history entry
- From Consultation Manager , select the relevant patient.
- In Read Term - Add, type #91B and press enter.
- 91B..00 Patient registration data verified displays, select OK:

- The History - Add screen displays, complete as per your practice protocols:
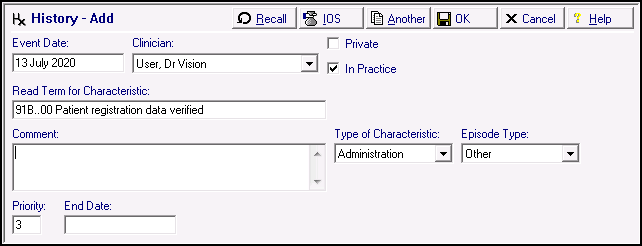
- Select OK to save.
Note - To print this topic select Print  in the top right corner and follow the on-screen prompts.