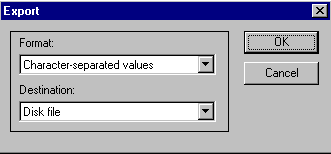
Select Export from the toolbar options at the top of the screen.
You may see a message about setting a default Mail client - you will need to do this later if you want to send data by e-mail, but if you are only exporting, click OK to this message.
There is a wide variety of choice of formats from the following:
Either to disk file(though later you have the option to save to a directory on the hard disk)
Exchange Folder
Or Lotus Notes Database
Or Microsoft Mail MAPI (see below re emailing a report) (rich text format is a possible file format)
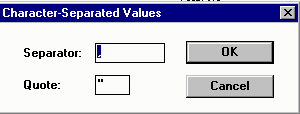
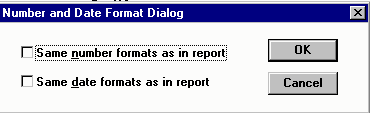
You may be prompted for further options, such as the format of Numbers and Dates, if for example, you have chosen tab separated; or the separator options. In this case, if you want these the same as the report, check the boxes. Click on OK.
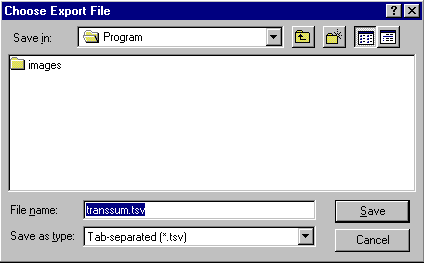
If you chose the Export Data option, the Choose Export File screen displayed - the default directory is \EXTRACT. Click on OK if this is OK, or select another directory, or if you want to save to disk, change the drive to a:.
Click on OK to start processing; a progress bar displays. When finished, the report is re-displayed on screen.
Click on x to exit.
Find your file in the directory you chose.
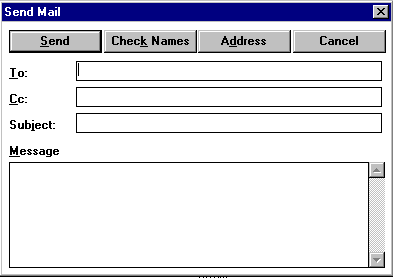
Mailing a report - If you chose the Mail via MAP1 option, and your Mail Client is already set up, at the Send Mail screen, complete the e-mail, adding addresses and message as appropriate. Click on Send button. The recipient will receive the file as an attachment.
Note - The data in these e-mailed reports is not encrypted and care should be taken if emailing these reports outside of the practice.
Did you find this helpful?
Sorry about that
Want to tell us more? - Send an email to leave your feedback.
Great!
Thanks for taking the time to give us some feedback.
 from the toolbar options at the top of the screen.
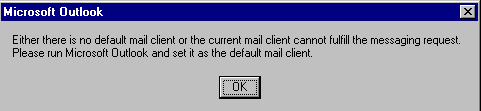
 Note - The data in these e-mailed reports is not encrypted and care should be taken if emailing these reports outside of the practice.