Preferences - Display Options
You can set your display options for your Appointments view.
To set your display options:
- From Appointments, select the arrow next to your name and select Preferences.
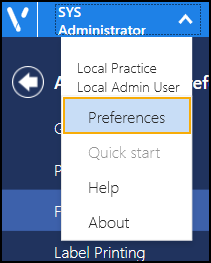
-
The Appointments Preferences list displays, select Display Options.
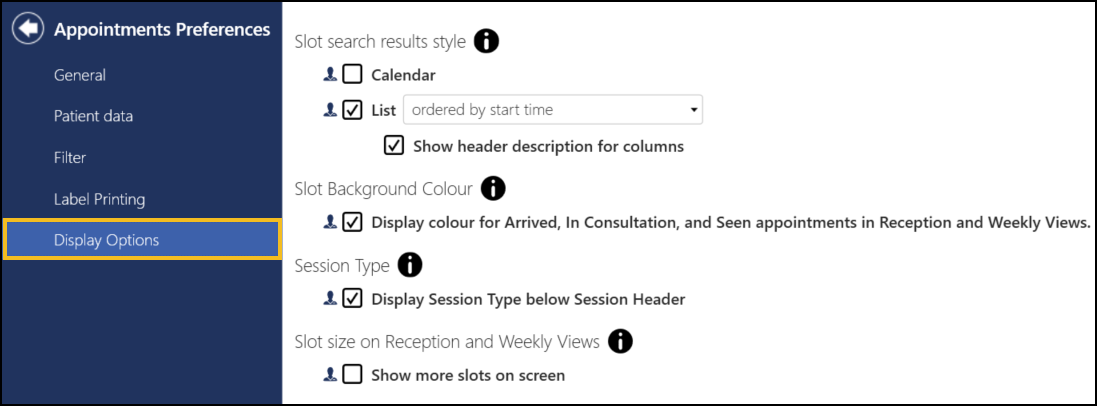
- Complete as required:
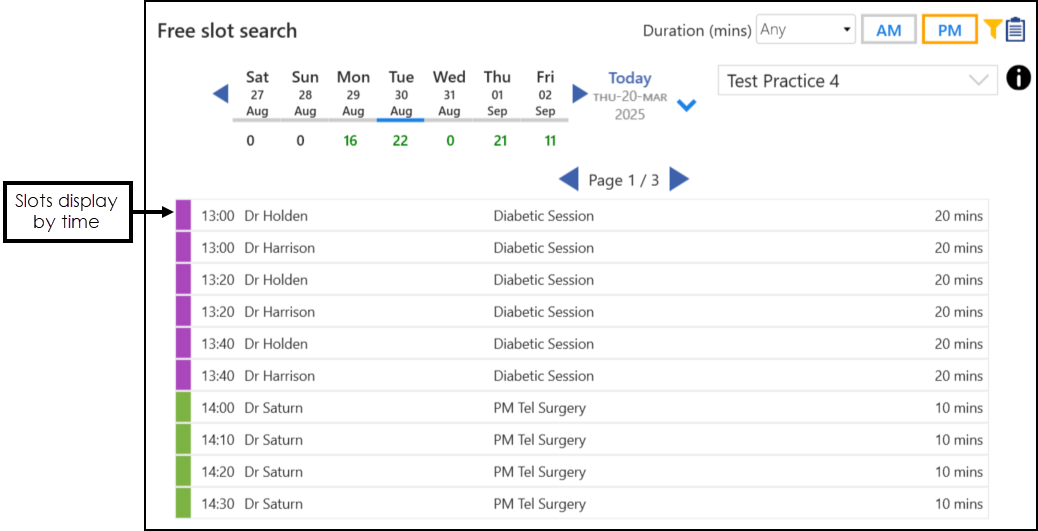
- Slot search results style - Select how you want your search results to display from:
- Calendar - Tick to select a display with a tile view like a calendar.
- List - Tick to select a display with a list.
- Calendar - Tick to select a display with a tile view like a calendar.
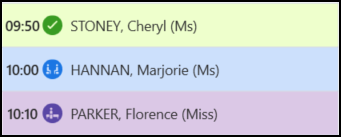
- Slot Background Colour:
Display colour for Arrived, In Consultation, and Seen appointments in the Reception and Weekly Views - Tick to display Arrived, In Consultation and Seen appointments with a background colour.
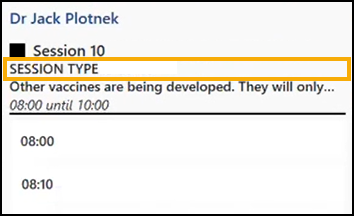
Session Type:
Display Session Type below Session Header - Tick to display the Session Type below the Session Header in the Reception View or Weekly View.
Slot size on Reception and Weekly Views.
Show more slots on screen - Tick to display smaller slots on the Reception View and Weekly View enabling you to view more slots/appointments on your screen.
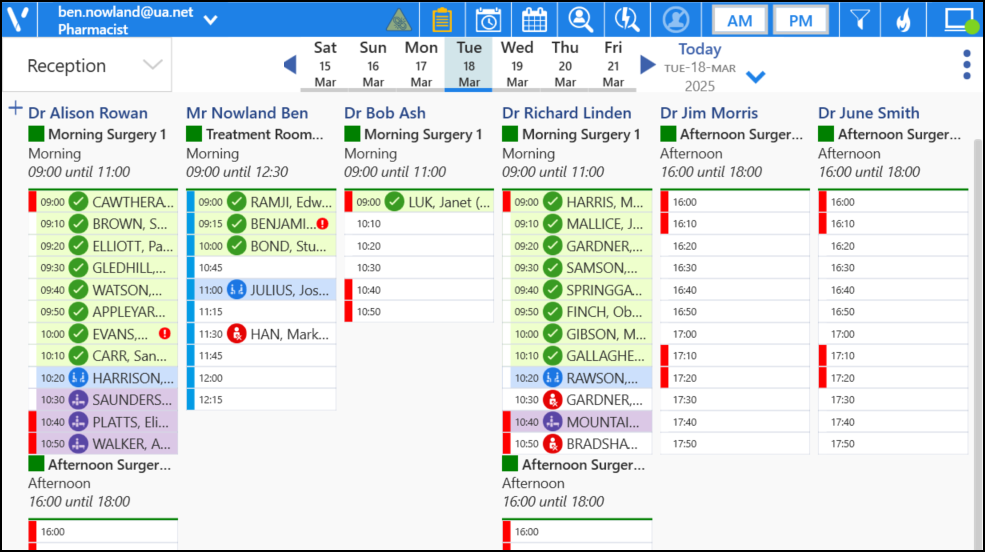 Training Tip - When you choose to show more slots, less of the appointment details display. Hover the mouse cursor over a booked appointment to display the full patient name, slot type and status.
- Slot search results style - Select how you want your search results to display from:
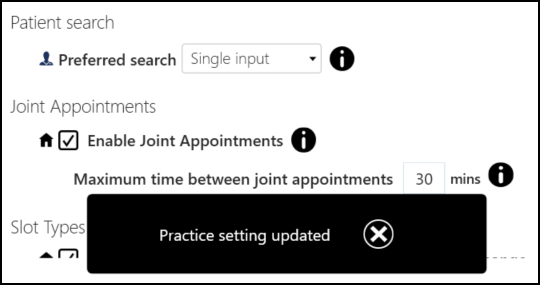
Any changes made to your preferences are saved automatically. A message displays at the bottom of the screen when you change a setting, advising 'Practice/User setting updated'. The message disappears automatically after five seconds.