Practice Wide Filters
Your practice can have shared filters.
Only members of staff with admin rights can create practice wide filters.
To set a Practice Wide Filter:
-
From any screen with a filter option, select Filter
 from the top-right of the screen:
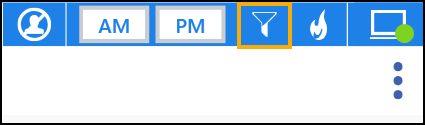 Training Tip - If Filter
 displays in orange, it means an existing filter is active, see Clear Filters for details.
 - Filters can be applied to the following categories:
- Gender
- Spoken Language
- Clinician
- Clinic
- Slot Types
- Sessions
Note - Any clinics or clinicians that are marked as inactive book owners and have appointments, are indicated by a "strike through". Any inactive book owners without appointments are not displayed. - Select a category heading to expand, for example, languages:

- Choose from the available options.
As the options are chosen, the number of clinicians updates automatically. -
Select additional categories as required.
- Select Save
 , and enter a Filter Name:
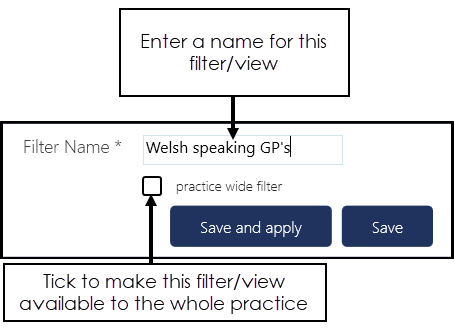 :
: - Tick practice wide filter if appropriate.
- Select Save and apply to use the new filter immediately or Save.
- Optionally, you can reorder the columns in the Reception View, then from the Command menu, select Save Order. This saves the order of columns to the filter settings.
To view any practice wide filters set, right click on Filter  , practice wide filters are identified with a House
  :
:
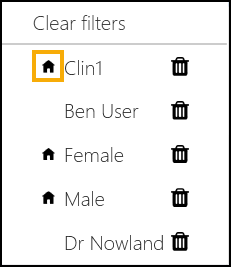
Note - You can only delete a practice wide filter if you have sufficient admin rights.
Creating Practice Wide Filters (1.11)
Note - To print this topic select Print  in the top right corner and follow the on-screen prompts.