Importing a Bulk Registration File
Please be aware:
-
Only patients with the following Registration Status are included in an import file:
-
Permanent
-
Temporary Residents - Long stay - Active only.
-
-
The list of incoming patients must be reviewed as part of the import process.
To process a Bulk Registration Import file received from your Health Board:
-
From your Remote Desktop, using File Explorer save the file received from your Health Board to P:\Extracts\HB BULK IMPORT.
-
From the Vision 3 front screen, select Messaging - Registration Links
 .
. -
Select Action - Bulk Patient Data Export/Import:

-
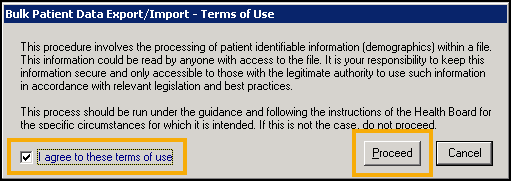
The Bulk Patient Data Export/Import - Terms of Use screen displays, read the message, tick I agree to these terms of use and then select Proceed:
-
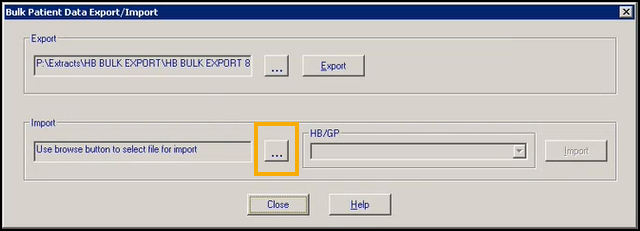
The Bulk Patient Data Export/Import screen displays, in Import select Browse
 :
:
-
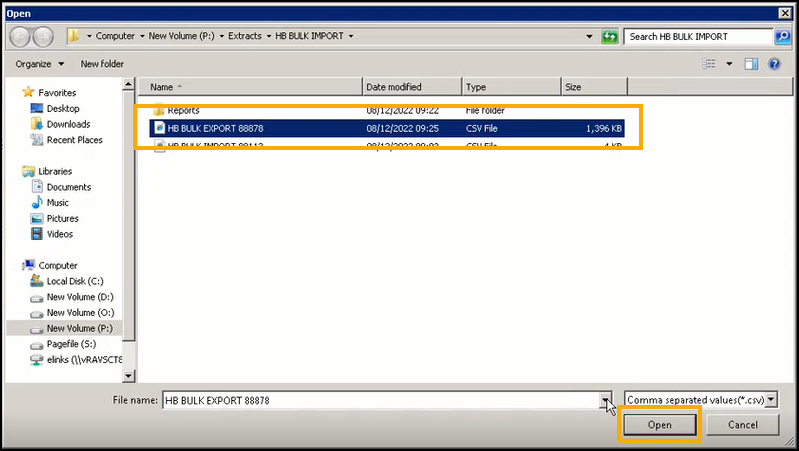
The Open screen displays at P:\Extracts\HB BULK IMPORT by default, select the file required and select Open:
-
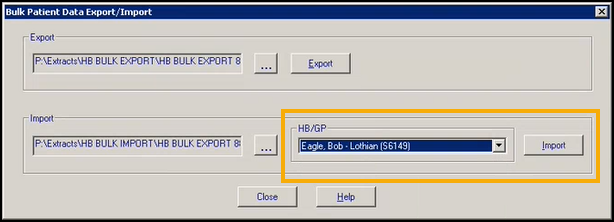
You are returned to the Bulk Patient Data Export/Import screen, select the appropriate HB/GP combination, as advised by your Health Board, and then select Import:
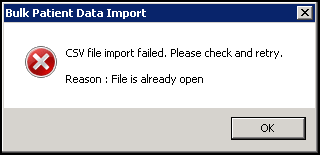
If there is a problem with the import, the Bulk Patient Data Import error message displays detailing the issue, select OK to rectify the issue and try again:
-
The validation process starts. The Bulk Patient Data Import screen displays, listing any issues with the import file. These must be addressed before you can successfully import it:
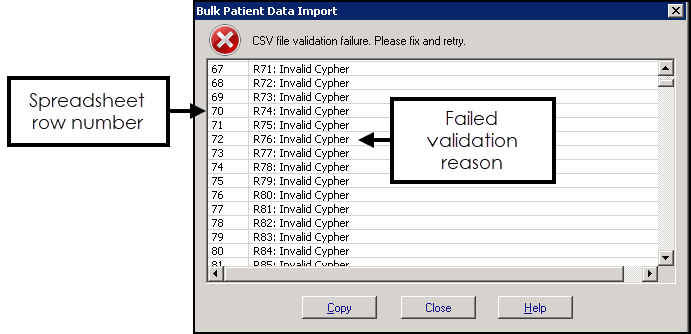
This list displays the spreadsheet row number and reason for validation failure to help you address issues.
Note - An Event Log entry is made regarding a failed validation.
-
Select Copy to copy this information to your Windows Clipboard and then paste elsewhere ready to work through it, for example, you may want to paste the list to a blank page in your word processing package.
-
Outside of Vision 3, using File Explorer, navigate to the import file in P:\Extracts\HB BULK IMPORT and open it. Using the data copied in the step above, correct the information on the CSV file, for example:
-
Invalid CHI_Number - Correct the CHI Number.
-
Invalid Forename - Correct the forename.
-
-
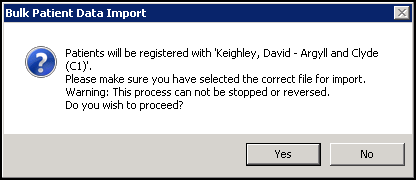
Once you have completed the list, repeat steps 2 - 7 again and this time the file should pass validation and the Bulk Patient Data Import message displays, select Yes to confirm your selections are correct:
-
Vision 3 processes the patients being imported one by one, comparing each patient to your existing patient register. Any patients included in the import that may already have a record at your practice trigger the Bulk Patient Data Import - Possible Patient Match screen:
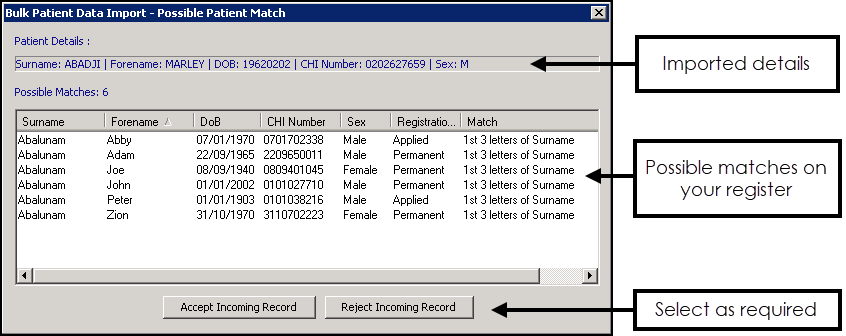
Check your existing register for the appropriate response and then select from:
-
Accept Incoming Record - To create a new patient record.
-
Reject Incoming Record - To refuse to accept this patient and process the patient manually.
-
Close
 - To skip this patient record.
-
-
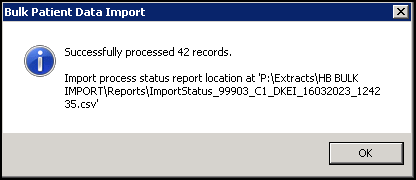
The process automatically continues. Once finished, the Bulk Patient Data Import - Successfully processed nnnnn records message displays, where nnnnn is the number of records processed, the following text details the location of the status report, it is important you make a note of this location. Select OK to close:
-
You must now check the Status report, from File Explorer, navigate to the path indicated by the Bulk Patient Data Import - Successfully processed nnn records message, the default is P:\Extracts\HB BULK IMPORT\Reports.
-
Double click on the report required to open it.
-
Each patient imported displays with their new status, check they are all correct. The status can be any one of the following:
-
Permanent patient CHI match - Auto rejected - A patient with this CHI number is already on your register and so the system automatically rejects the addition.
-
Manually accepted - New patient record created - This is a record that you have accepted as part of the process in step 12 above.
-
Manually rejected - This is a record that you have refused as part of the process in step 12 above.
-
System rejected - Existing record not previously exported.
-
Dialog closed by user. Patient skipped - Close
 selected on Possible Patient Match screen.
 -
No existing patient - New patient record created.
-
-
Select Close
 to close the report.
The new and re-registered patients are now available from Consultation Manager and are processed through Registration Links in the usual way.