Node Styles
Node Styles enable the creation of customised nodes for your organisation to be used in Workflows when adding/editing Workflow Nodes.
To create a Node Style:
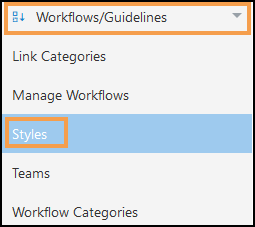
- In the Administration section, select the Workflow/Guidelines section and choose Styles from the drop-down list.
- Select Add Node Style
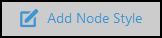 from the toolbar.
 - Enter a name for your Node Style.
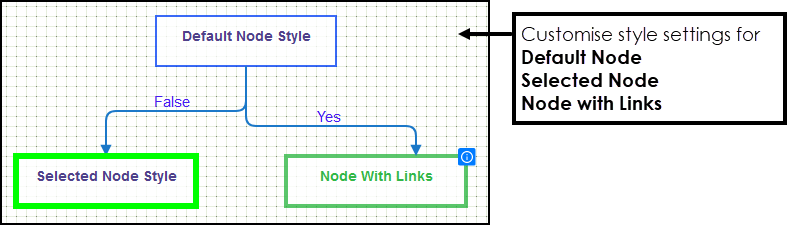
- There are Properties associated with three types of Node, scroll to see all.
- Default
The standard view. - Selected
Currently selected node. - Node with Links
Nodes that contain links, for example, Guidelines or URL.
Note - The Border Size can be customised in Viewer Styles. - Default
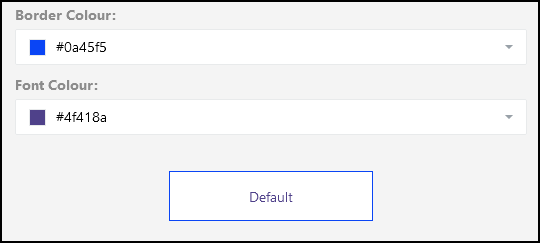
- Next, select the Colour drop-down to set a colour for the relevant Property.
Select from the Colour Selection area, to change the available colours select from the Colour Pallet on the right.
Alternatively, enter the RGB or Hex code directly.
Select Ok.
- Any changes you make preview below the section you are updating.
- Select Save to add your Node Style and X to close the Properties..
A notification displays "Node Style added successfully", and the view refreshes to include the new style.
The Add Node Style pop-up displays:

Edit or Delete a Node Style
You can make further changes to a style or delete unused styles.
- Choose the Node Style from the list.
The toolbar refreshes and includes Edit Node Style and Delete Node Style.
- Select Edit Node Style
to make changes.
Then select Save to update. - To delete select Delete Node Style.
An alert displays "Are you sure you would like to delete this node style?".
Select Yes to proceed or No to cancel.
See - Viewer Styles.