Link Categories
Link Categories are used in the Related Information section when designing a Workflow to organise additional information.
See - Using Related Information .
Creating a new Link Category
To create a new Link Category:
- From the main Dashboard select Administration.
- Expand the Workflows/Guidelines section.
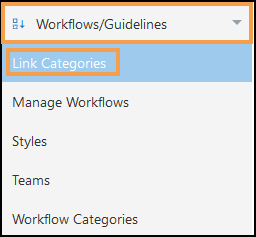
- Select Link Categories from the menu.
The Link Categories view displays. - Select Add Link Category from the toolbar.

- Enter a Link Category name in the pop-up window.
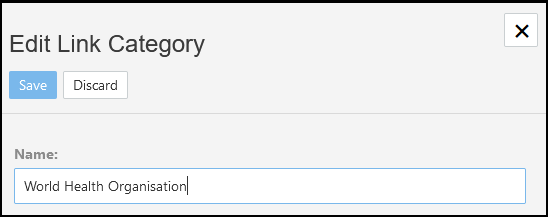
- Select Save to create the Link Category.
A notification displays 'Link Category successfully added!'. - Select X to close the pop-up.
Managing Link Categories
-
From the Administration menu expand the Workflow/Guidelines section.
-
Select Link Categories from the menu.
The Link Categories view displays. - Select the Link Category you want to change.
The toolbar refreshes to include the following options:
- Add Link Category
See - Creating a new Link Category. - Edit Link Category
Select to make changes to the name, select Save to update the changes. - Move up
Moves the Link Category one place up the list, - Move Down
Moves the Link Category one place down the list, - Disable Link Category or Enable Link Category
Disable Link Category removes the Link Category from the Related Information view.
Following selection a notification displays 'Disabling this link category will make this unavailable to workflow designers. Are you sure you wish to continue?'.
Select Yes to proceed.
If a Link Category has been disabled, select Enable Link Category to activate, a notification displays 'Enabling this link category will make this available to workflow designers. Are you sure you wish to continue?'.
Select Yes to proceed.
- Add Link Category