Select a Patient Group
From Consultation Manager, you can select a Patient Group that has been created by a Search, with a group output or a Clinical Audit. This enables you to run through the group of patients, checking and applying any actions required without having to search for each patient.
To utilise the Patient Group utility in Consultation Manager:
-
From Consultation Manager, select Consultation - Select a Patient Group.
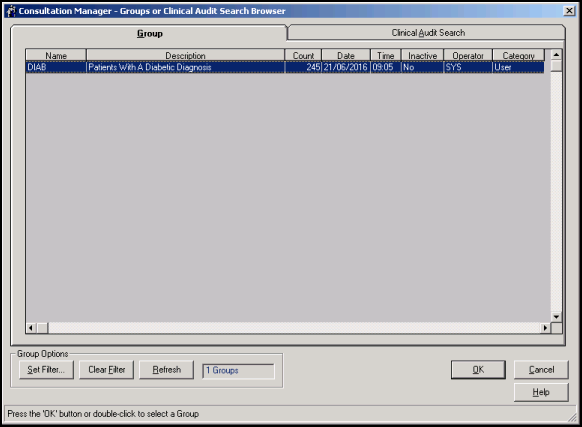
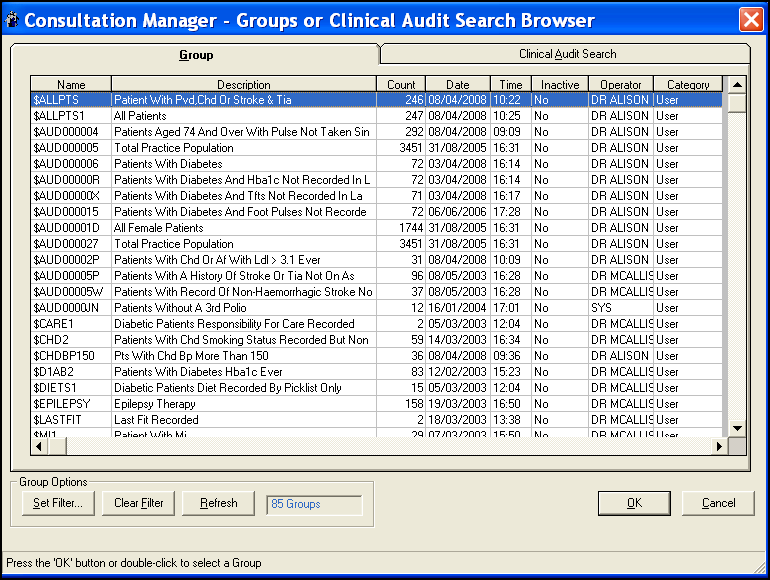
- The Consultation Manager - Groups or Clinical Audit Search Browser screen displays:

- Select either:
 Group tab - To view and select patient groups created by your searches.
Hints and tip for using the Group tab:
- On the Group tab, user groups display by default (without system groups).
- Use Set Filter if you want to select from system groups as well. Here, you can filter from a full group list to display only the specified groups (as you can in Patient Groups) by one or more of the following:
- Select users - Groups have ownership. You can select either All users, Selected users (to select a user or users, double click on each user name to be selected - this places a chevron to the left of the name) or Current user signed on to this workstation. To deselect selected users, select All Users.
- Select System Category - by specified system groups - audit searches ($AUD), audit subsearches ($SUB, $GLO, $SUB), MIQUEST, or other system groups ($PAT).
- Select System Category: by specified system groups - audit searches ($AUD), audit subsearches ($SUB, $GLO, $SUB), MIQUEST, or other system groups ($PAT).
- Select Other Category - and/or user groups.
- Select Active State - Active or inactive groups, or both.
- Suppress display of empty groups - Those with a zero count of patients.
- In Group Description, you can search for an ad-hoc search by a part description, for example, putting in DIAB will find ad-hoc searches with diabetes or diabetic in the title.
- Clear Filter - Select to return the list to all the user groups, clearing any filters set.
- Refresh - Select to update the list.

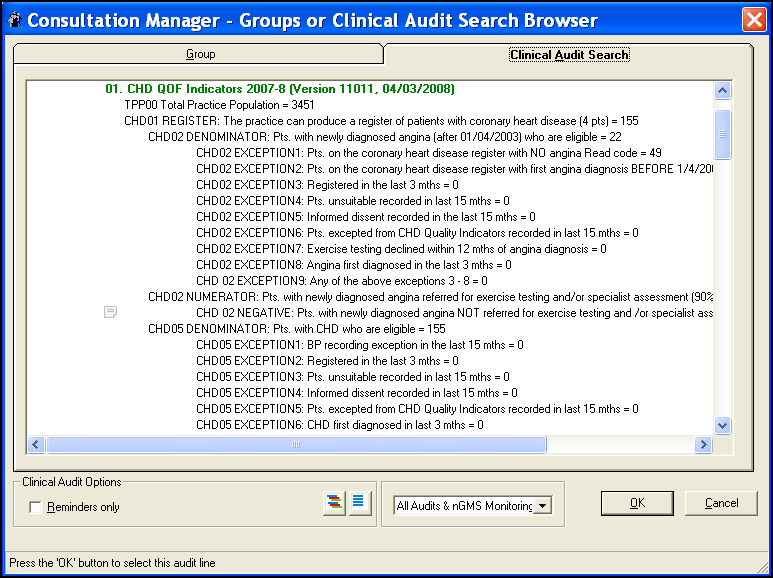
 Clinical Audit Search tab - To view and select patient groups created by the Clinical Audit searches
Hints and tip for using the Clinical Audit Search tab:
The Clinical Audit Search screen is similar to the Clinical Audit screen, except that the count of each audit is shown on the right, for example " = 49".
Use Expand and Collapse
 to open or close the list.
For QOF audits, select the view you want from the Audit Source box:
- All audits & nGMS Monitoring - This view shows all audits with statistics up to the end of last month and the nGMS Audit showing daily statistics (including data up to the most recent daily generation), based on a QOF Reference Date of "today" exclusive, up to midnight.
- nGMS Reporting - This view only shows the nGMS audit (including data up to the most recent daily generation, if run) based on a QOF Reference Date of standard end of year (1st April exclusive).
- QOF Results Last Reported - This view shows what you sent in the last submitted report to QMAS - the Regular (monthly) report.
- QOF Results Last interim - This view shows the data of the last generated interim report, if run.
- If you tick Reminders only, the list redisplays with only those audit lines with active reminders.
- Find the audit line you want in exactly the same way as you would in Clinical Audit. Select a main blue line Audit Group (for example, QMAS Returns and Monitoring Audits) to expand the red clinical area lines beneath (for example, QMAS Returns - Clinical 2019-20). Select a red line to expand the clinical categories beneath, which are green headings (for example, CHD QMAS indicators). Select the required audit line, coloured black, to select it. Then select OK.
- If you select a QOF audit , the group is created there and then, on the fly. The system takes a moment to save the group if a saved copy does not yet exist; otherwise it saves the group from the last audit generation.

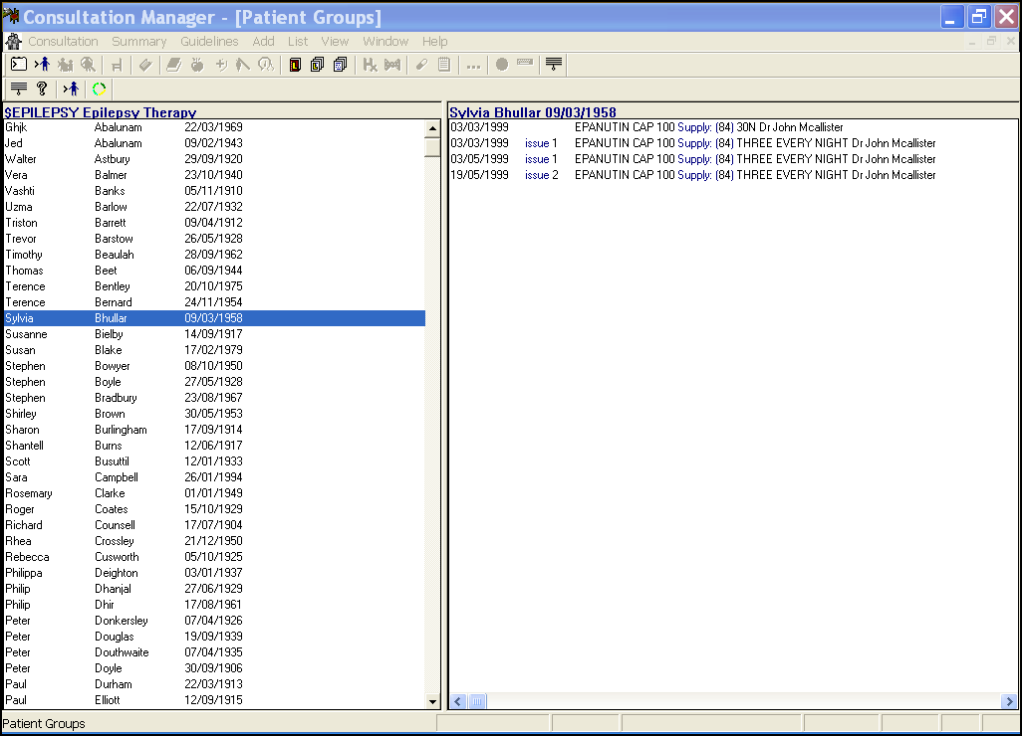
- Double click on the group required, and an alphabetical list of the patients within that group displays.
- Optional, double click on a patient name in the middle column to display the patient's data that qualified them for this group, if appropriate, displays in the right-hand column:

- To run through the patients for checking or processing, highlight the patient at the top of the list, assuming you want to start at the beginning, and select Select Group Patient
 at the top of the group screen just under the title Patient Groups, not the one on the main toolbar.
 - Process the patient as required, for example, adding history, updating immunisation records.
- Select Next Group Patient
 to select the next patient in the group, or display the list of the patients within the group by selecting Consultation - List Patient Group and selecting the group required, repeat steps 6 and 7 again.
 - Continue until you have either:
- Finished processing everyone in the group as required, or
- If you need to come back later, or pass the task to another member of your team to finish processing, make a note of the last patient processed and start at that point on your return with step 6 above.