HealthPortal New Patient Registration from Microtech
MiHealthPortal is a suite of secure and user-friendly products from Microtech Health, designed to save you time and money. In this suite is the New Patient Registration module for practice management staff to mange new patient registrations in GP practices.
Patient Registration
Patients can register for an account using the Microtech web portal link provided by the practice.
Once signed in patients are requested to complete two forms, Registration and Questionnaire:
-
Registration - Patient to complete demographic details for themselves or for a minor aged 0 to 15.
-
Questionnaire - Patient to provide contact details and medical data such as height, weight, smoking, allergies etc and additional conditions.
Patient submits the registration and can continue to add a new registration for a family member at the same address if required.
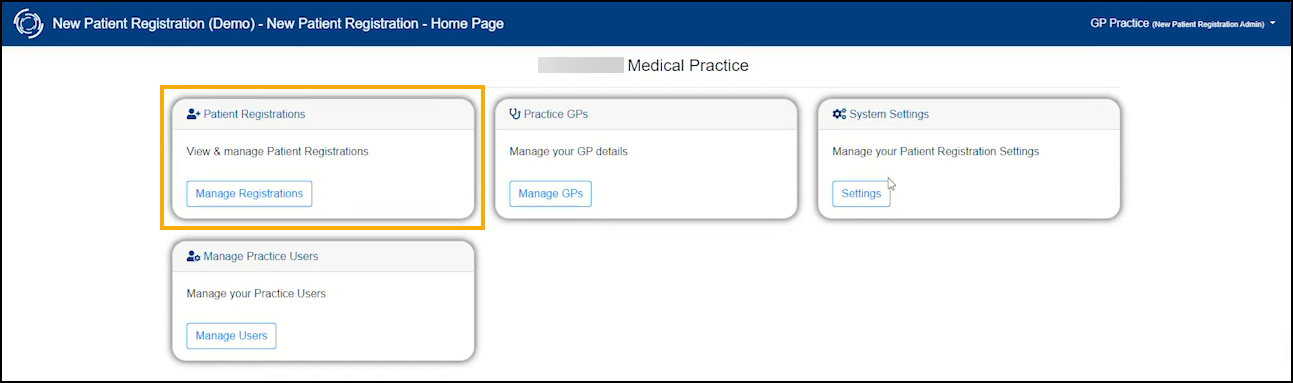
Practice Management
From Patient Registrations, Practice Management staff can easily review patient registrations:
Step 1 - Review a Patient Registration
To accept a registration:
-
From Patient Registrations, filter Registration Process Status to Patient Submitted and select Search.
Note - Previously registered patients are highlighted with a red warning and should not be accepted.
 -
Review a patient's GPR document and Questionnaire PDF.
-
From GP Name, assign a GP to the patient.
-
Select Accept Registration.
Step 2 - Export New Patients List
To export a group of accepted patients:
-
Filter Registration Process Status to Accepted and select Search.
Note - Previously registered patients are highlighted with a red warning and should not be exported. -
From New Patient Registrations, tick the patients you want to export.
-
Select Export for Registration. A confirmation message displays, select Export.
-
A Save As screen displays, do not change the file name. Any previous exports will be overwritten; if they have not been completed, select Cancel and complete them first. Select Save if you are happy to progress with the export.
Step 3 - Add Patients to Vision 3
-
Sign in to Vision 3.
-
Select Registration
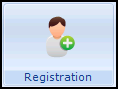 .
. -
Select New Patient
 from the toolbar and then select New. The Registration - Personal Details screen displays:
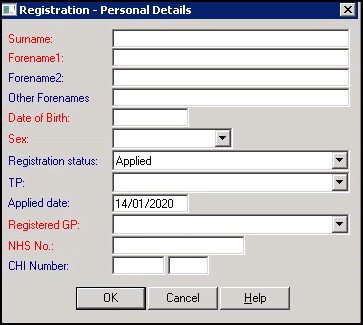
-
On your desktop double click Registration Assistant:

-
The Registration Assistant for Vision 3 screen displays:
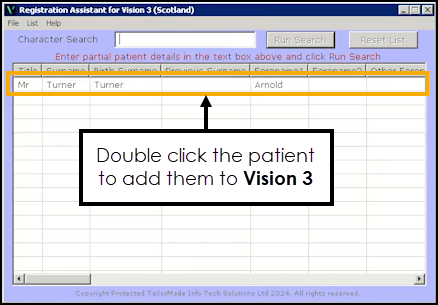
Double click the patient you want to register and add to Vision 3.
-
Registration Assistant automatically completes all mandatory information replacing the need for manual entry. When there are issues with the data, the program pauses, allowing you to manually resolve the issue. Theregistration automatically continues after the issue is resolved.
On completion the Registration Assistant Completed Successfully screen displays, select YES to remove the patient from the Registration Assistant for Vision 3 screen.
-
You can now review the data added to the Registration Details screen. Select Next on each tab and finally select OK to save the details.
Step 4 - Link Patient Record to Vision 3
To link a patient's collected clinical data to Vision 3:
-
From Patient Registrations, filter Registration Process Status to Accepted and select Search.
Note - Previously registered patients are highlighted with a red warning and should not be exported. -
Next to the required patient in New Patient Registrations, select Link.
-
The Patient Registration - Vision Patient Lookup screen populates the search criteria, select Search.
-
From Patients, double click the required patient (populated from Vision 3) and select Link.
- Navigate to the patient in New Patient Registrations and select Transfer.
-
From Codes, select View Codes to view all the clinical codes to be filed in the Vision 3 patient record.
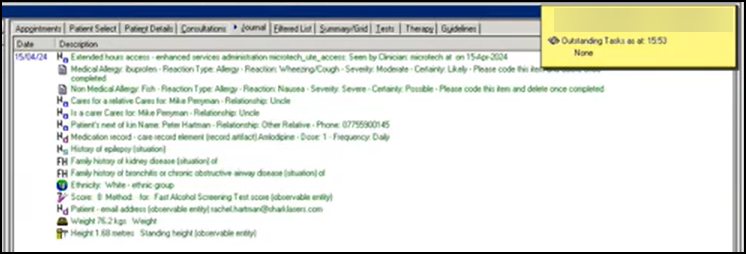
Important - Allergy information must be manually coded in Vision 3 after the patient is registered. - Select File Patient Data to file the codes in Vision 3.
- The Transfer Success screen displays with Email success notification to patient toggled on. Toggle off if you do not want an email to be sent to the patient. Select Yes to update the status to Completed.
You can view the data added in the Vision 3 patient record: