|
|
|
|
|
Add a Request
You can add a request either afresh, or by using a default request already set up with a default READ term, provider and department.
- Select either Add - Requests - Requests, or Add - Requests - From Default. The Requests Add screen is almost identical to the Referral Add screen, except that Date specimen taken on Requests replaces the Action date field on Referrals.
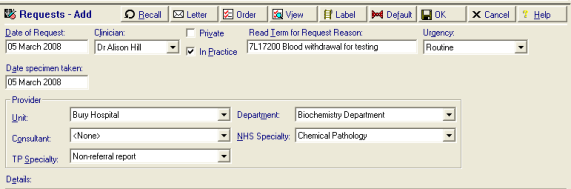
- Date Specimen Taken - defaults to today's date.
- Select the Unit, Department, Consultant and Specialities just as you would on a Referral Add screen. See
- In READ term for RequestReason, enter a suitable request reason, remembering to use # before a code, eg #7L172. Some suggestions are:
- 7L172 Blood Withdrawal for Testing
- 4146 Urine sample sent to Lab
- 4651 Urine Pregnancy test requested
- 4712 Faeces sent for examination
- 4K11 Tissue sent for histology
- 4K12 Specimen sent for histology
- 41D Sample obtained
- As you can with referrals, the Default button
 lets you create a default request from your current details, so this can be selected in the future (see Default Requests).
 - Before clicking OK, optionally click on the Label button
 to print a specimen label. Type in clinical details in free text. Select the number of labels you want (you can set up the design of this label from Modules - Drug Label Design - Specimen Labels). Click OK.
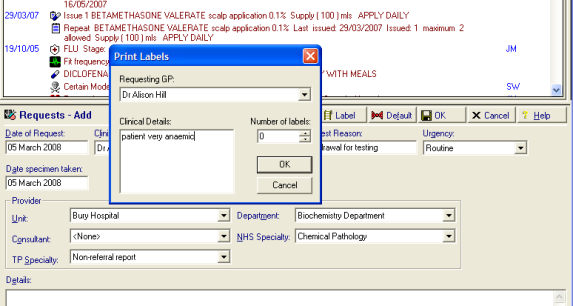
- Click OK to complete the Requests Add.
Requests are stored under Medical History on the navigation pane, and so filtered just to list requests under the Filtered tab. They can also be listed from List - Requests.