Setting up Vision 3 Printer Profiles
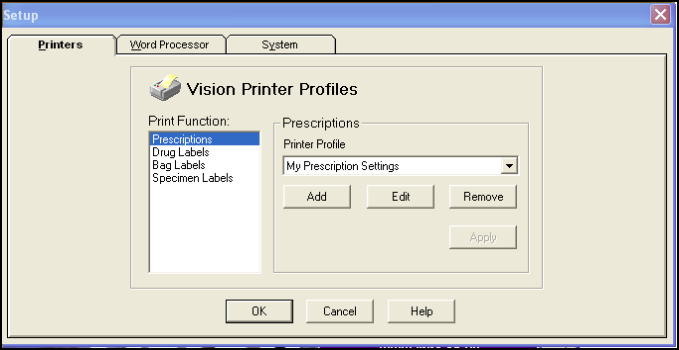
Setting up of printers is made via Options - Setup - Use Print Profiles from the Vision 3 Front Screen:
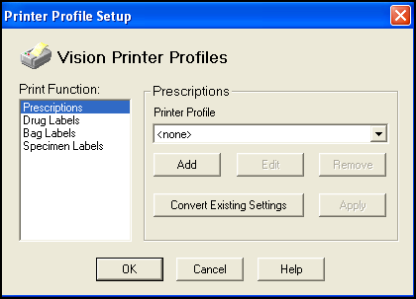
If printer profiles have not been enabled on the workstation, then the classic printing setup screen is shown as usual. There are other circumstances in which the Vision 3 Printer Profiles screen (as above) may be displayed (for example, Manual Conversion). In these cases, the other system options and tabs are not visible, as illustrated on the previous page.
Note - You can also reach the Printer Profile screen from within Consultation Manager, from Print Therapy - Add or Prescription Manager screen, select Setup and also from Consultation Manager - Consultation - Options - Prescription Setup.
- Printer Function - This list contains all Vision 3 print functions that are supported by Printer Profiles. Each of these functions has an associated printer type, currently Script or Label:
- Prescriptions
- Nurse/SP Prescriptions (in Scotland)
- Drug Labels
- Bag Labels
- Specimen Labels
- Select one of these, for example, Prescriptions, if you want to set up a prescription profile.
- Printer Profile - This picklist contains all profiles that have been created on this workstation that correspond to the selected print function, eg My Prescription Settings.
- Thus, if Prescriptions is selected, then the picklist is filled with all script profiles, whereas if any of the three label functions are selected, then it is filled with all label profiles. The selected item is the profile assigned to the currently selected print function.
- Add and Edit - These options on the Vision Printer Profiles screen let you add or edit a printer profile (described below).
- Remove - This deletes the currently selected configuration after a warning has been given.
- Apply - This is enabled when the profile assignment has changed. When pressed, all function-profile assignments are saved and the button is disabled. Select OK to save any unsaved assignments in addition to closing the screen.
Note – To print this topic select Print  in the top right corner and follow the on-screen prompts.