Creating Appointment Searches for SMS
The Appointment Search report displays appointments booked for any slot type and any session for the next seven days by default. You can however set different filters and save these as separate searches which are accessible from the Appointment Reports screen as follows:
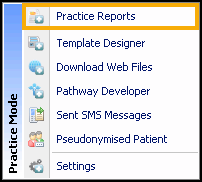
- From the Windows Notification Area, right click Vision+
 and select Practice Reports:
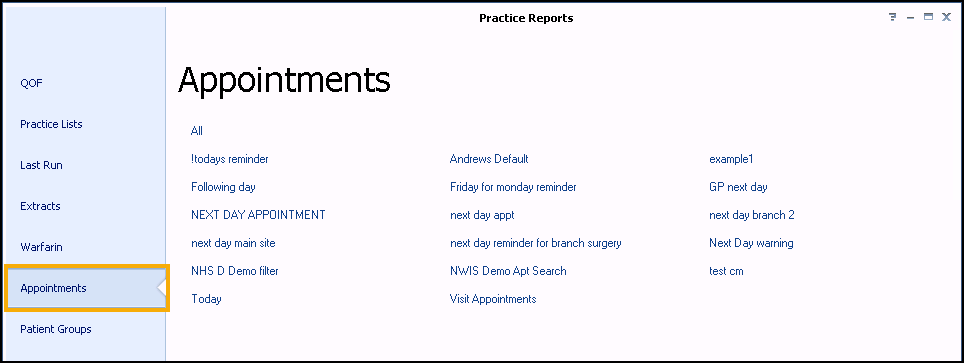
- Vision+ Practice Reports opens by default on the QOF/QAIF page, select Appointments:
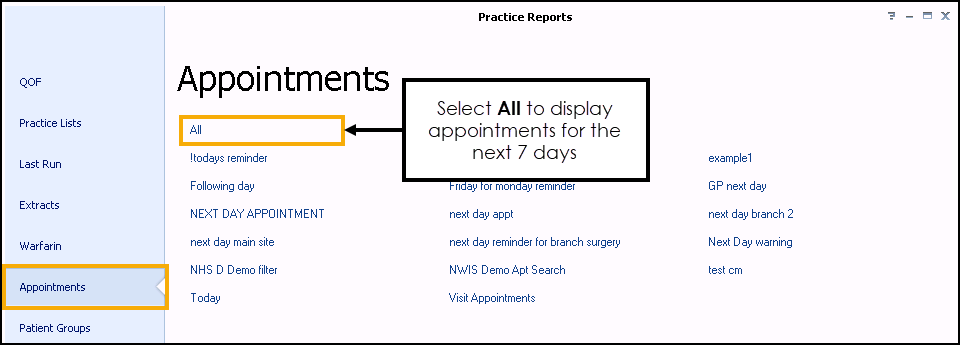
- The Appointments screen displays. Select All:
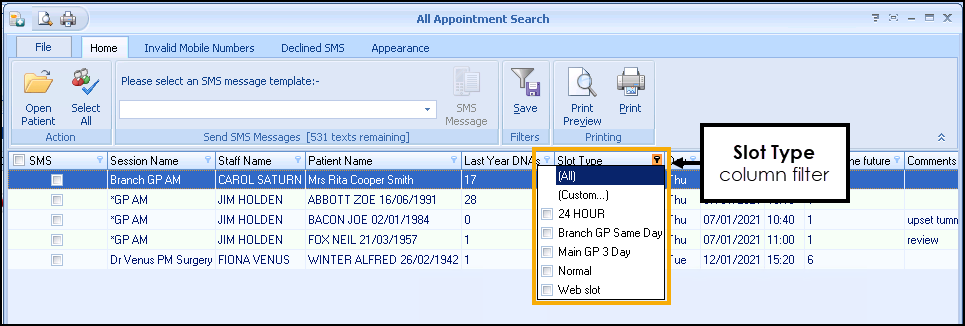
- The Appointments Search screen displays. Patients with appointments for the next seven days display by default. Change the filters as required by selecting Filter
 at the top-right of each column heading. Either select from the existing options or select Custom to create your own.
To create your filter:
- Select the filter on the Slot Type column:
- From the slot type list select (Custom...) and enter the filter requirements, for example, equal to 'Telephone Consultation' or 'Tel Consultation':
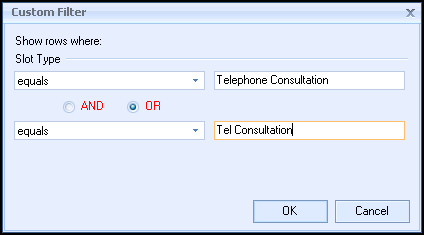
- Select OK.
- Select the filter
- Select Save
 and give your search a name. Select Save again.
 - The search now displays on your Appointment Reports screen.
View the following video to see how to set up appointments searches:
Using Appointment Searches to send Vision+ SMS Reminders (1:30)
Important - For practices with a hosted server, for example AEROS, you must watch the videos on your local desktop. To do this copy and paste the url for this web page into your local browser. Local health board restrictions may also affect access.
See Video Tutorials for further Vision+ videos.
Note - To print this topic select Print  in the top right corner and follow the on-screen prompts.