Template Layout Menu
When you add a control to a template, additional options display, you can either right click on a template control or select from the Layout Tab:
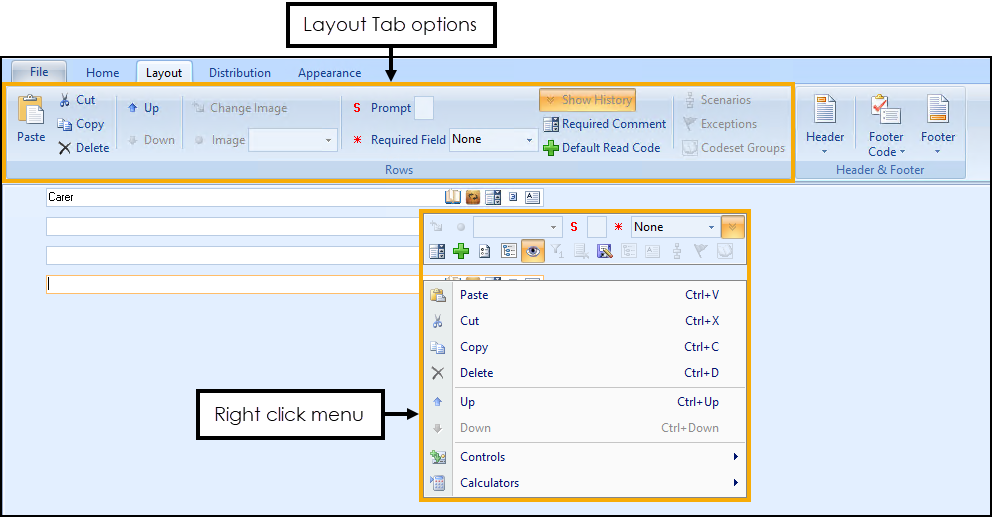
The options provided are as follows:
| Right Click | Layout Tab | |
|---|---|---|

|

|
Paste copied control above the select line. |

|

|
Cut selected control. |

|

|
Copy selected control. |

|

|
Delete selected control. |

|

|
Move selected control up. |

|

|
Move selected control down. |

|
Add from Home tab | Either add a control to the bottom of the template or insert a control above the selected line. See Working with Indicators in Template Designer for more details. |

|
Add from Home tab | Either add a calculator to the bottom of the template or insert a calculator above the selected line. See Adding a Calculator Row to the Template for more details. |

|

|
Add or Change the image, see Adding an Image Row to the Template for more details. |
|

|
Set the row image. See Adding a Text Row to the Template for more details. |

|

|
Set a character to display to the left of the row, for example Q for QOF/QAIF. |
|
|
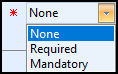
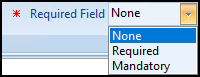
Set as a required or mandatory field. See Setting Controls as Required or Mandatory for more details. |

|

|
Show history. |

|

|
Set the row to require a comment. See Adding Default Comments for more details. |

|

|
Set to allow a code to be entered by default. See Assigning a Default Code for more details. |

|
N/A | Displays the logic that activates the visibility of the selected code. |

|
N/A | Status Control Logic. |

|
N/A | Set to make the row visible when inactive. |

|
N/A | Set Value. |

|
N/A | Set to read only. |

|
N/A | Save When Inactive |