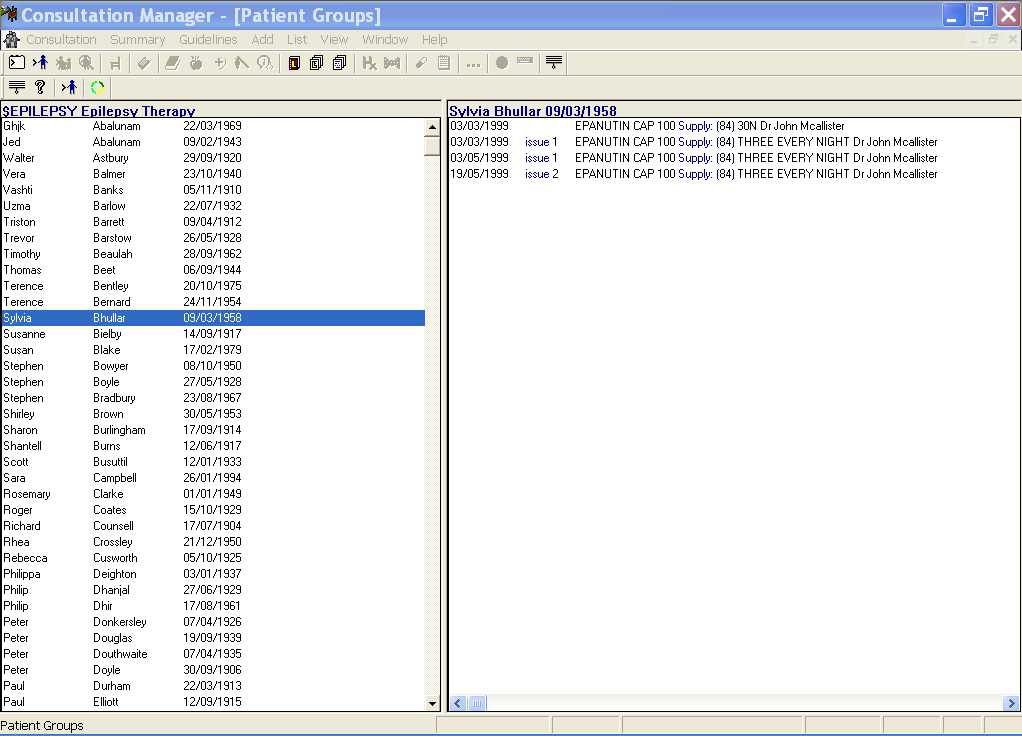
When the Selected Group displays
- Double click on a group name in the left-hand column (or highlight and press Enter) to display an alphabetical list of the patients within that group in the middle column.
- Double click on a patient name in the middle column to display that patient's details in the right-hand column.
- To resize the sections, place the cursor on one of the vertical dividing lines within the window until the icon changes to two arrows - drag the line until the section is increased or decreased to the size you want. You can also maximise or minimise the screen if you wish.
- With a patient name highlighted in the middle section, click on
 Select The GroupPatient at the top of the group screen just under the title Patient Groups (not the one on the main toolbar) in order to select that patient. This may open a new consultation, if selecting a patient automatically starts a new consultation - see "Consultations – Consultation Options Setup".
 - When you have finished with the patient, click on
 or Close Consultation.
 - If you want to select the next patient in the group (when selected the name on the title bar changes):
- either click on
 Next Group Patient to select the next patient in the group.
 - or select Next Group Patient from the Consultation menu.
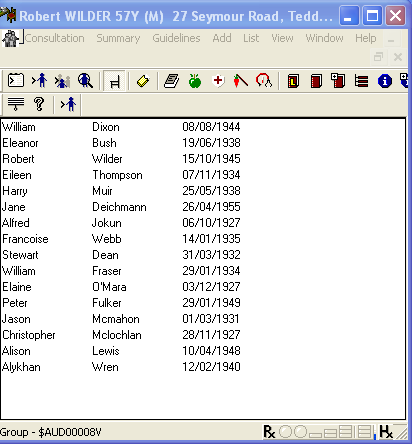
- or display a list of the patients within the group by clicking on Consultation - List Patient Group. Double click on a patient name to select that patient and open a consultation.
- either click on
- Close a display of patients or groups by clicking on the top left hyphen and selecting Close, or clicking on
 .
.